Gestisci gruppi
- Iniziare
- Dispositivi
- App
-
Portale
Gruppi Panoramica del portale Categorie Profili stampante Voci del menu Sonda di temperatura Elenco di preparazione Etichette rapide Controllo del prodotto Biblioteca multimediale Scala Stampa cronologia Posizioni La posizione esegue l'override Importazione ed esportazione di massa Impostazioni Elenchi Utenti Supporto
- Accessori
- Etichette
- Riparazioni
I gruppi vengono aggiunti, modificati ed eliminati dalla scheda Gruppi nel portale.
Una volta assegnati i gruppi, puoi aggiornare i dati in base ai gruppi anziché alle singole posizioni.
CONSIGLI E TRUCCHI
Utilizza l'esportazione di massa per aggiornare il personale, le categorie e le voci di menu nei gruppi.
Aggiungere gruppo
1. Accedi a www.datecodegenie.com utilizzando il browser consigliato, vedi Quale browser Internet dovrei utilizzare per accedere al mio portale DateCodeGenie®?
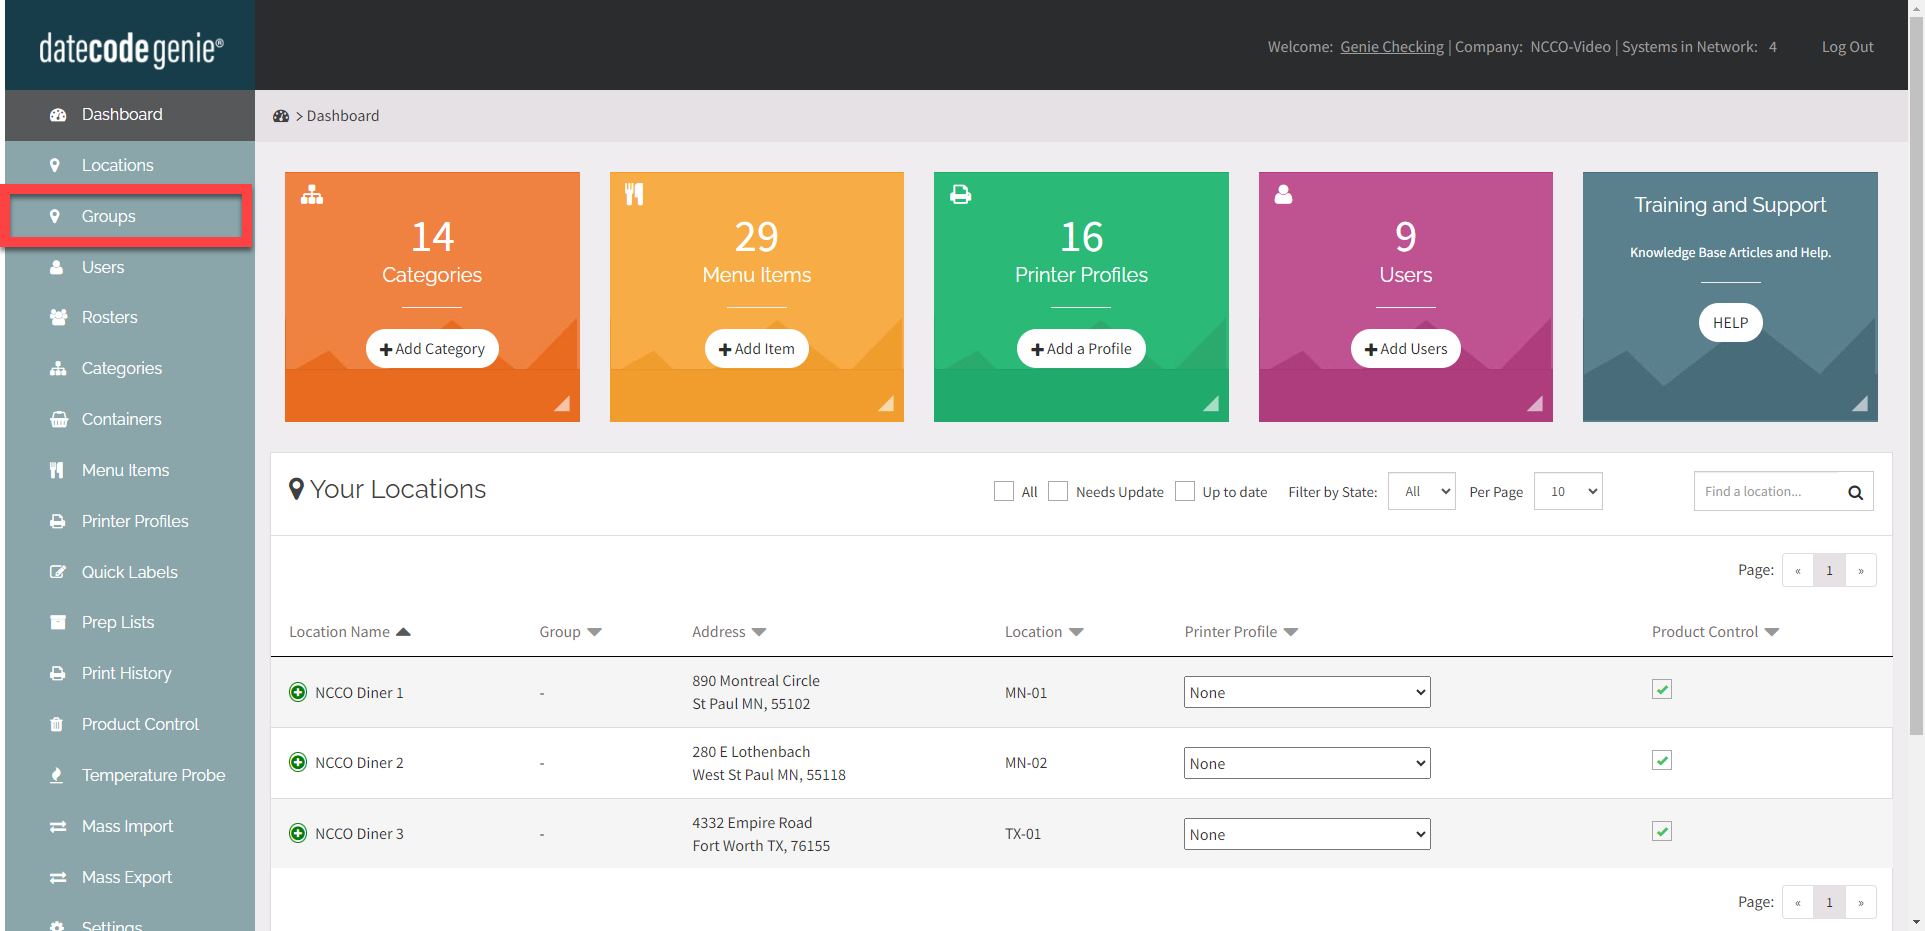
2. Fare clic sulla scheda Gruppi sulla barra laterale.
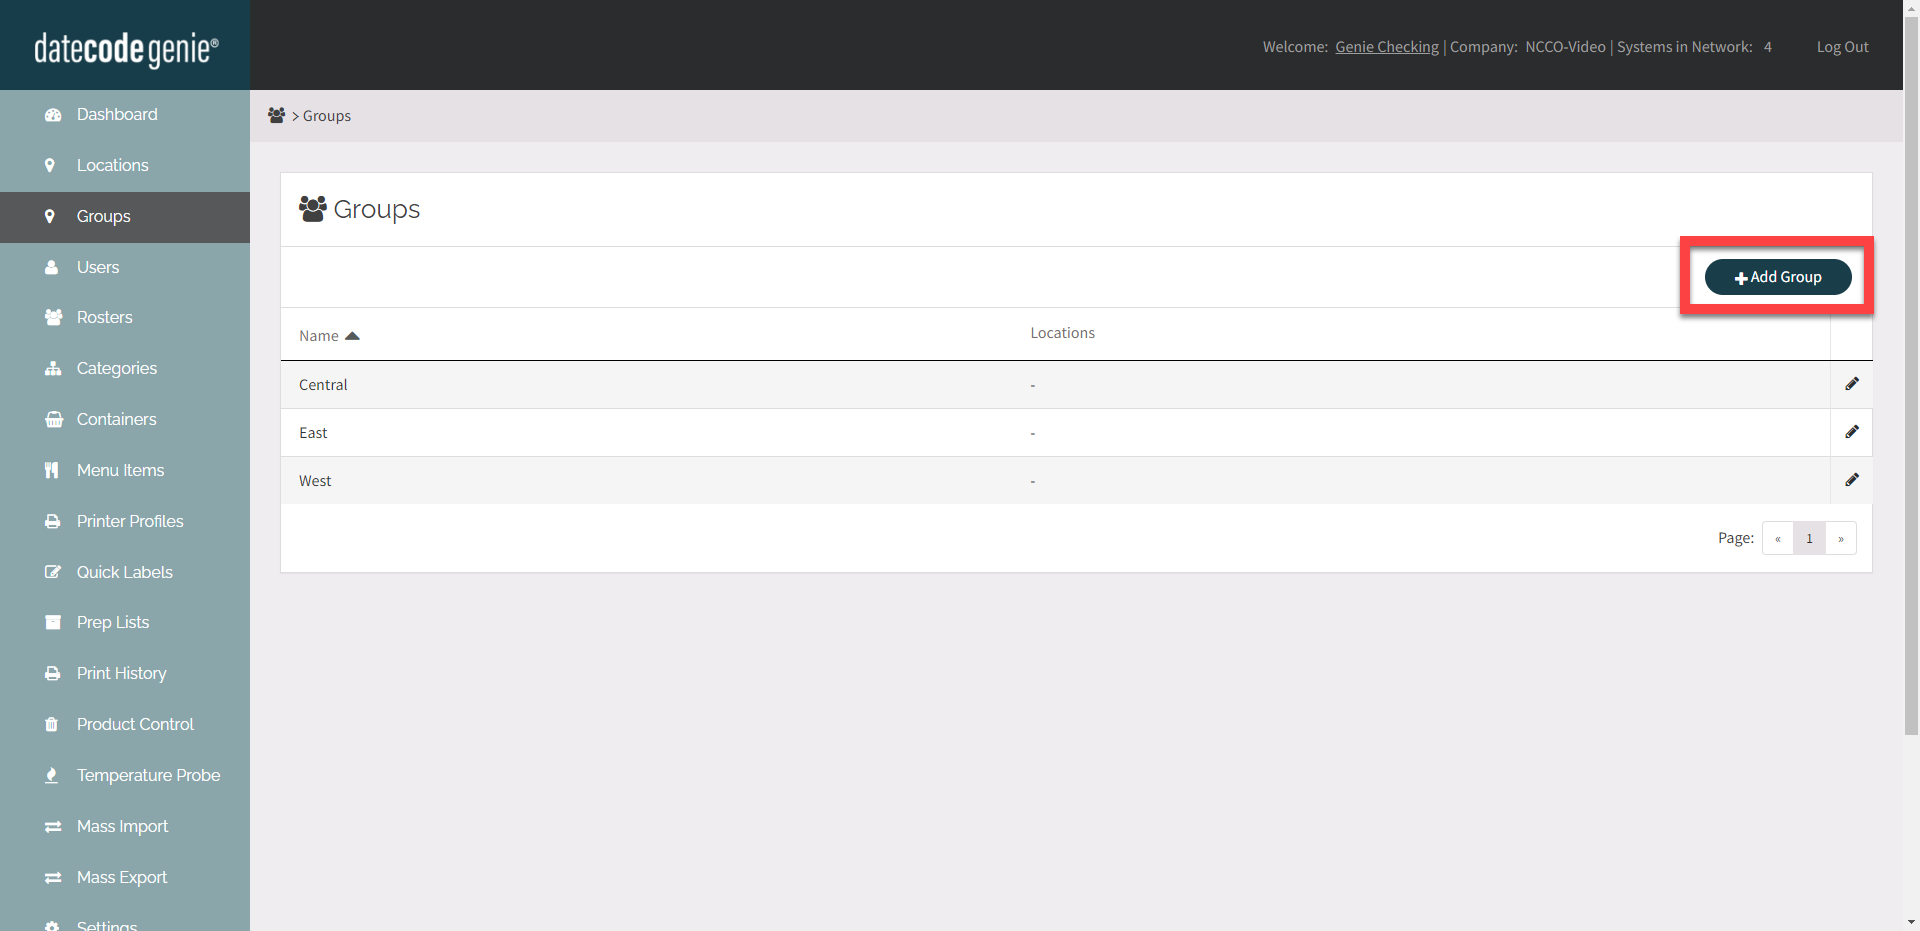
3. Fare clic sul pulsante Aggiungi gruppo .
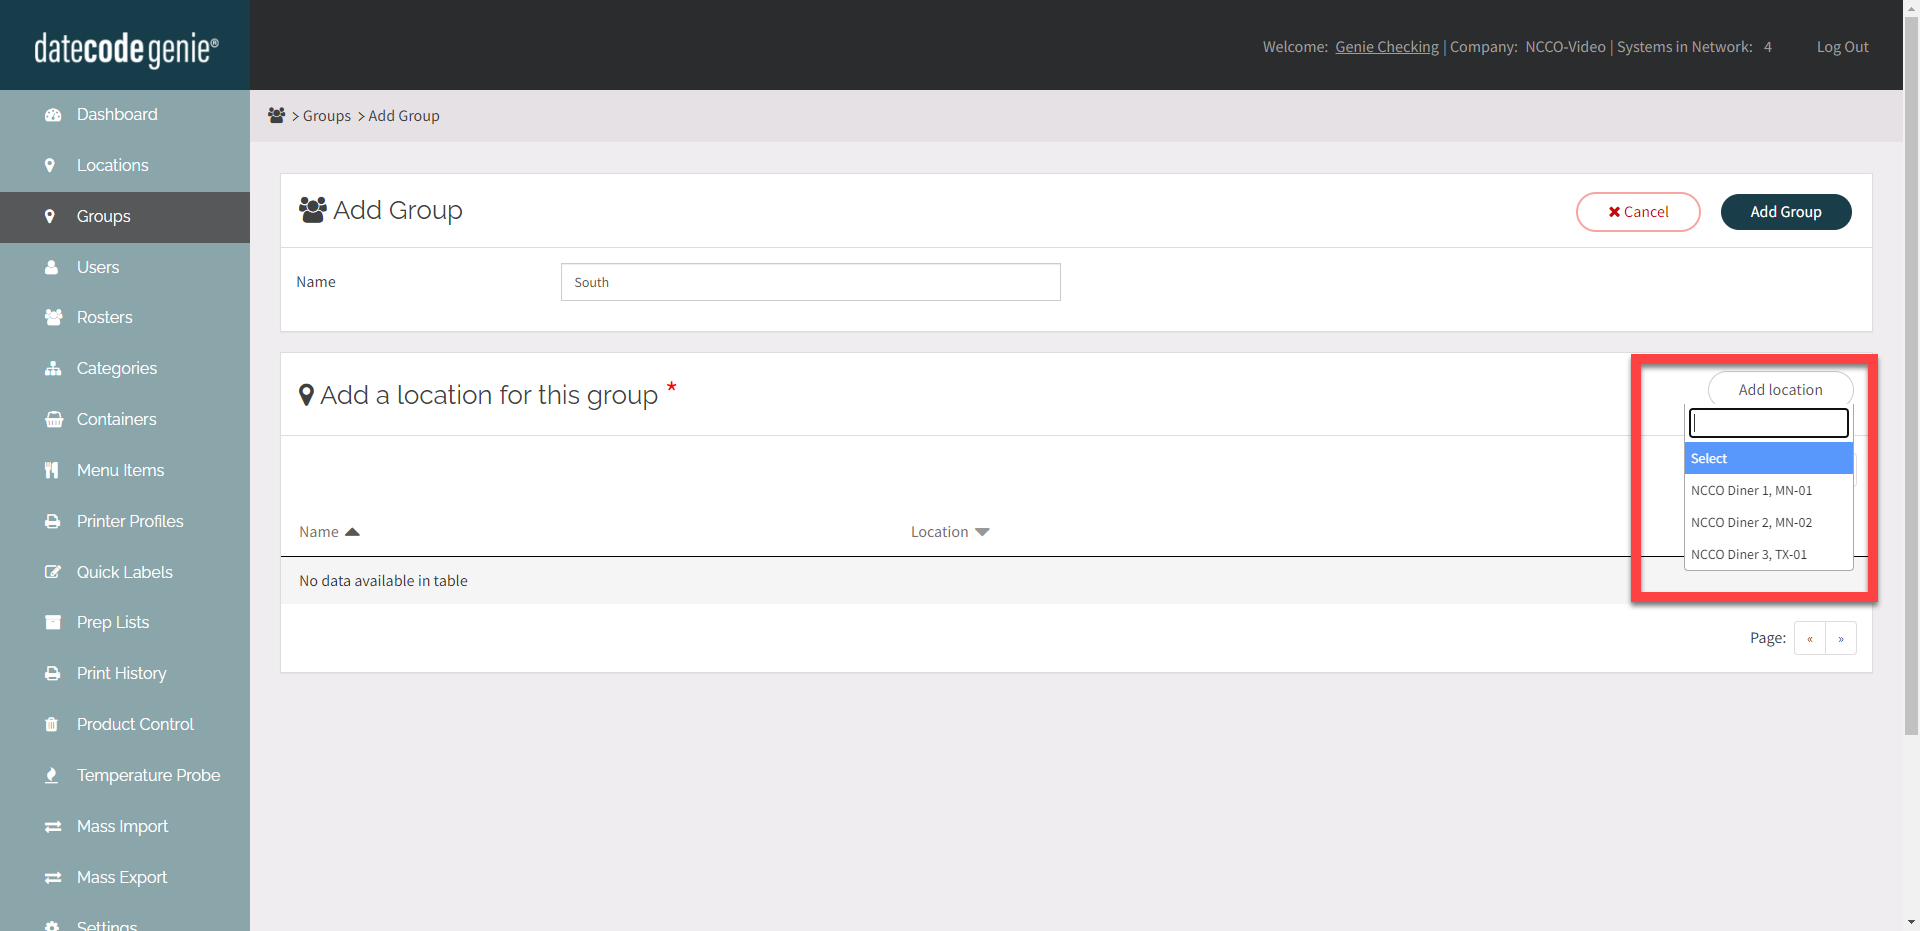
4. Immettere il nome del gruppo.

5. Fare clic sul pulsante Aggiungi posizione e selezionare la posizione dal menu a discesa. Ripetere per tutte le posizioni desiderate.
APPUNTI
Potrebbe apparire la seguente notifica in rosso nella parte superiore della pagina: "Aggiungendo questa posizione al gruppo la rimuoverai da quelli seguenti, che ora rimarranno senza posizioni."
Tutti i dati elencati dovranno essere assegnati a una posizione o a un gruppo prima di aggiungere la posizione al gruppo.
Per tutti i dati elencati, vai alla rispettiva scheda sulla barra laterale per modificarli.
6. Per rimuovere una posizione, fare clic su X Rimuovi posizione da questo gruppo .
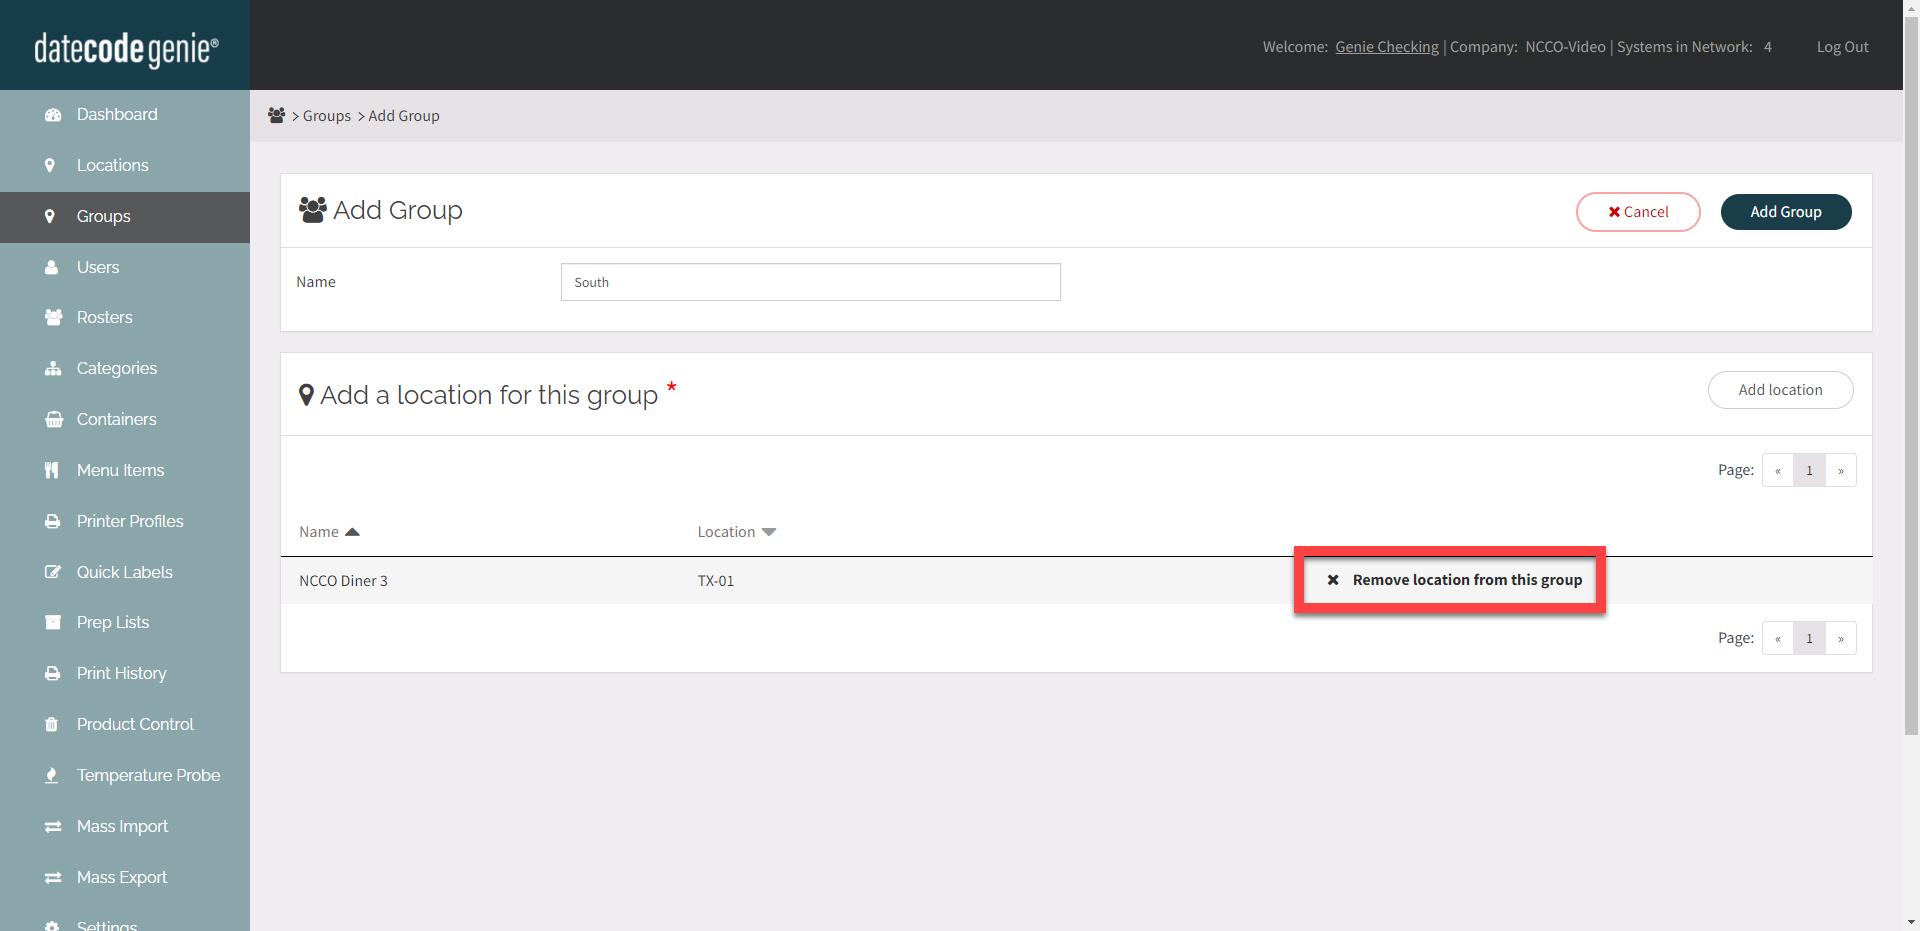
7. Fare clic sul pulsante Aggiungi gruppo .

Modifica gruppo
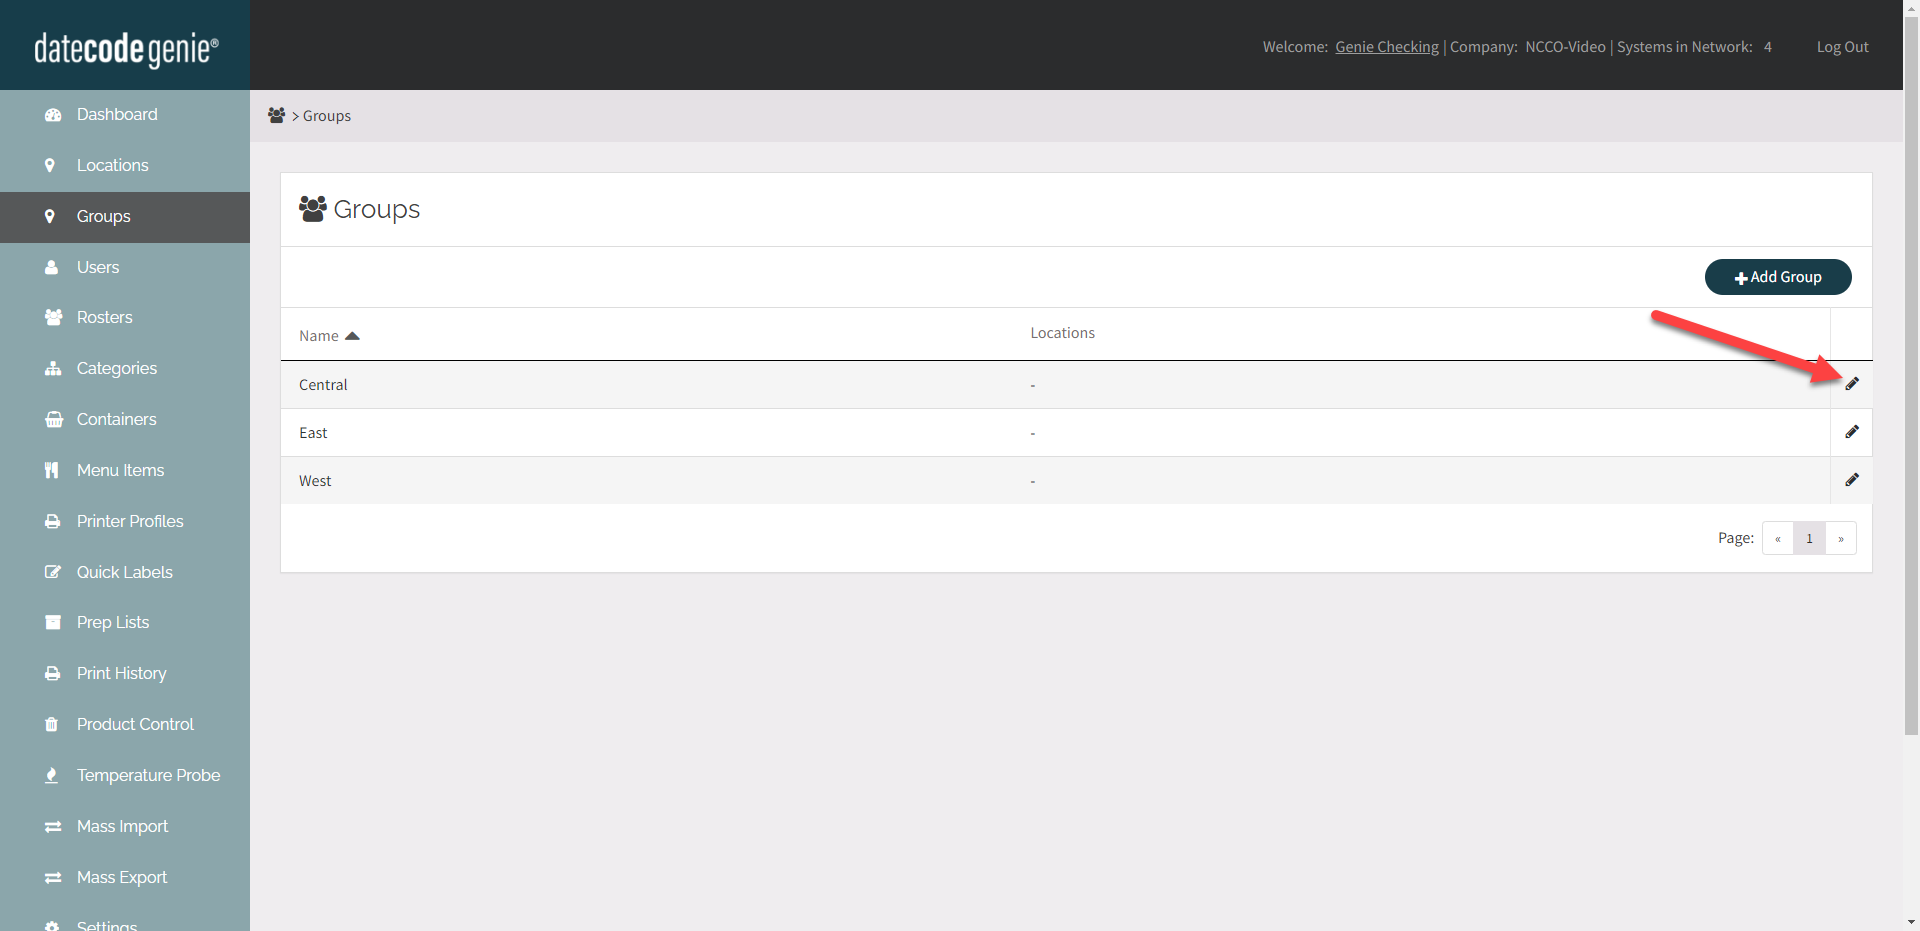
Fare clic sul pulsante Modifica (icona a forma di matita) accanto al gruppo da modificare.
Elimina gruppo
1. Fare clic sul pulsante Modifica (icona a forma di matita) per il gruppo che si desidera eliminare.

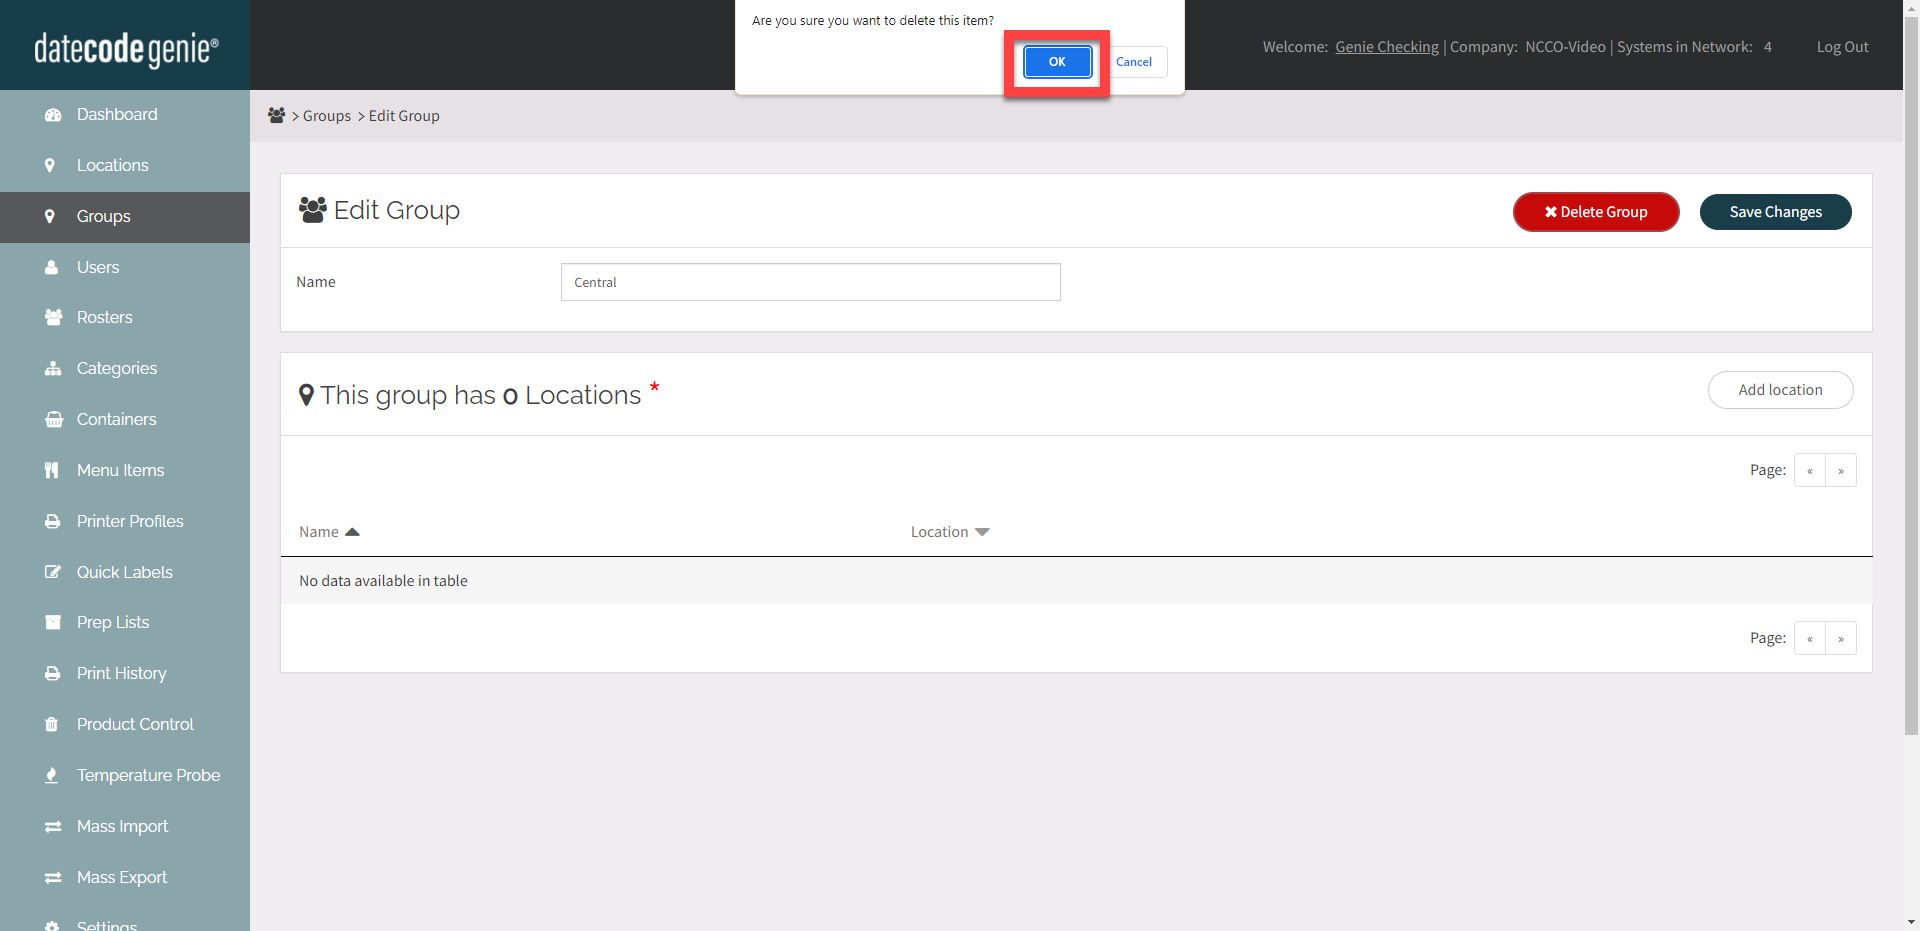
2. Fare clic sul pulsante Elimina gruppo .
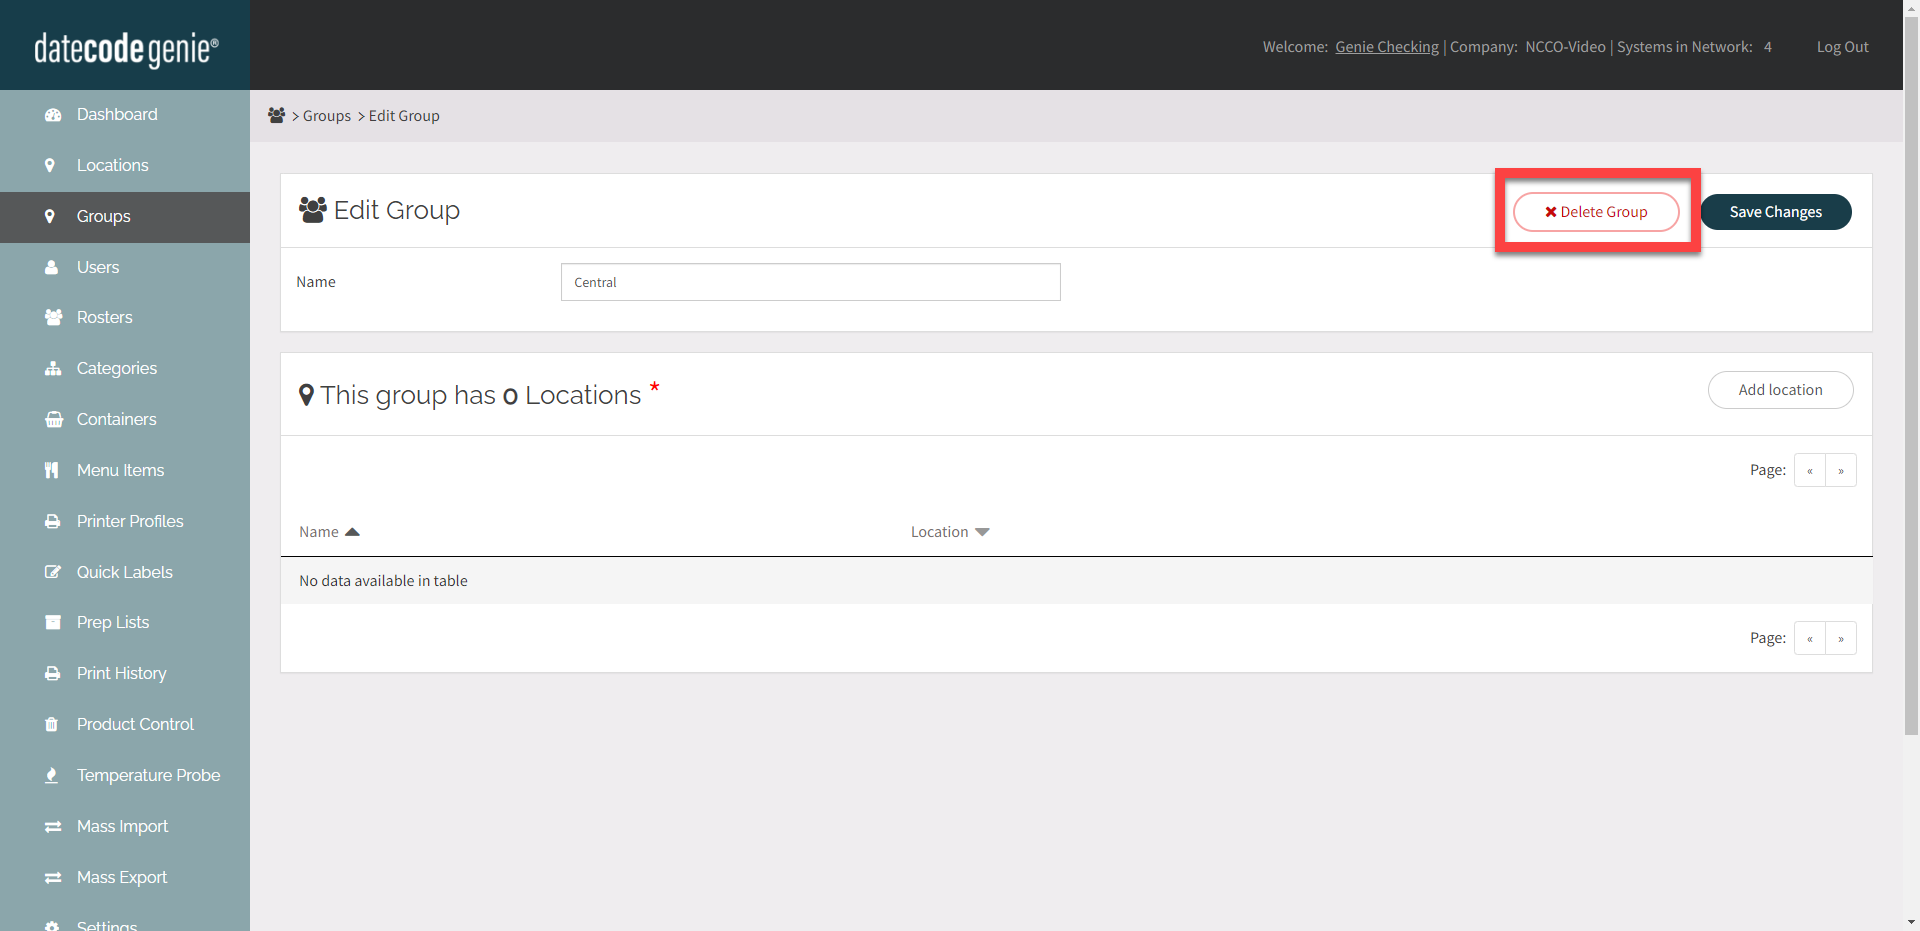
3. Fare clic sul pulsante OK dal popup per eliminare.
