How to use the NCCO 2-in-1 Bluetooth Temp Probe in the Task Manager App
Table of Contents
How to use the NCCO 2-in-1 Bluetooth Temp Probe in the Task Manager App
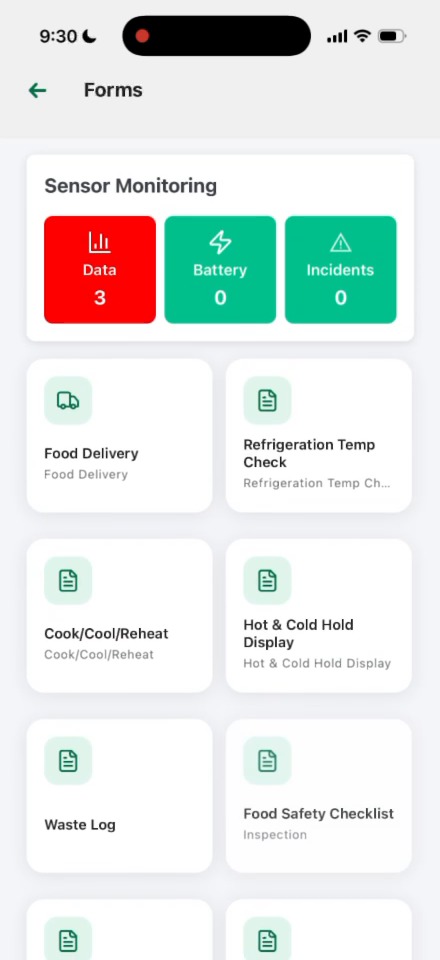
1. Click the form you want to use for temperature checks. For this example, we use the Hot & Cold Hold Display. Selecting this form opens the temperature tracking options for hot and cold food items.
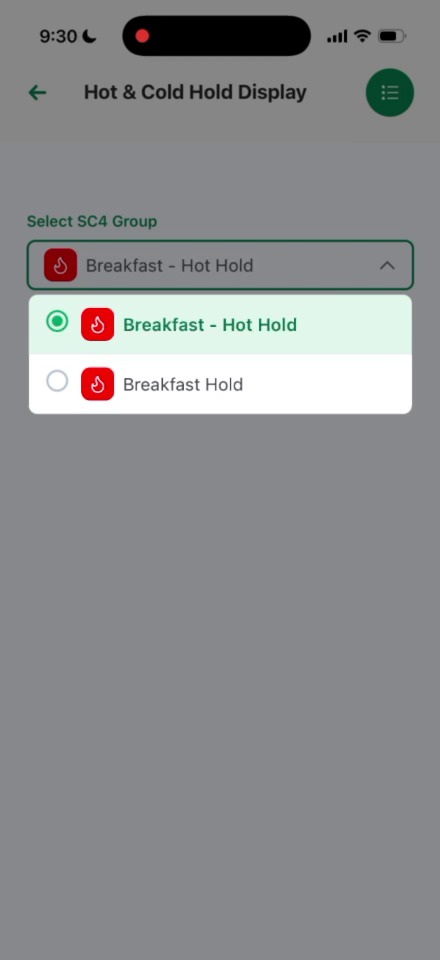
2. Choosing the group determines which list of menu items will be loaded for temperature checks.
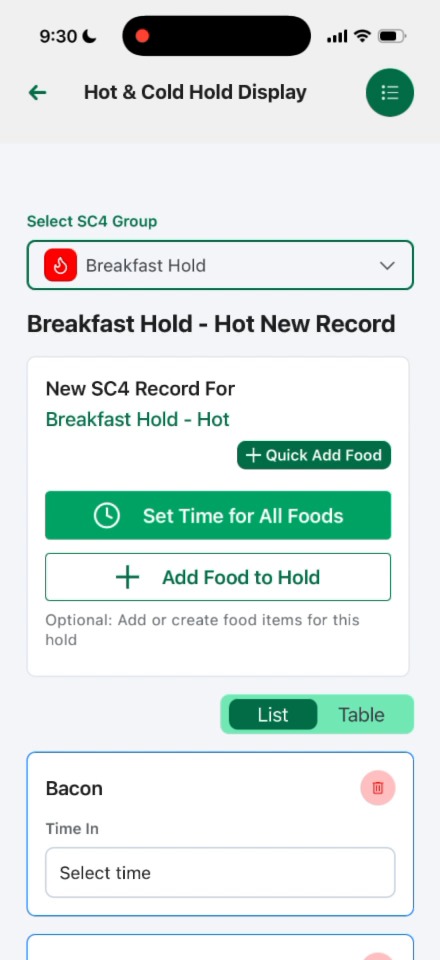
3. Follow the typical form steps:
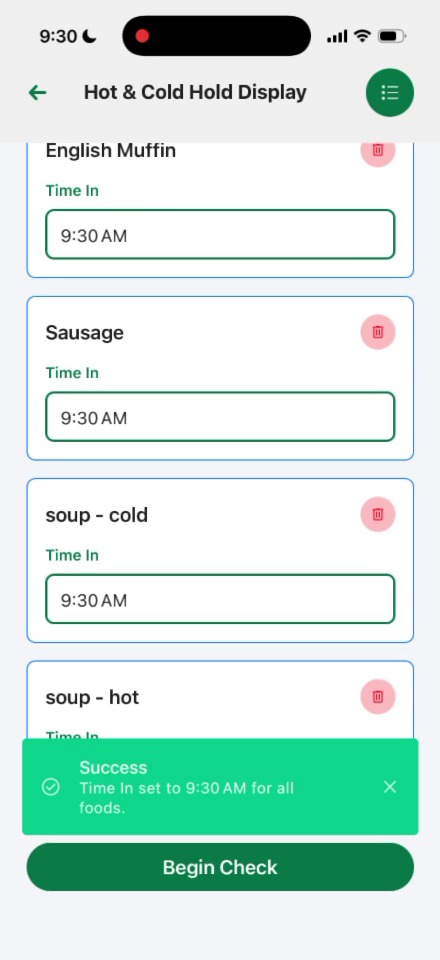
Click the Set Time for All Foods button. Setting a single initial time applies a default time-in entry across all listed food items simultaneously.
Click the Begin Check button. Initiating the check locks in the preparation list and moves to recording individual item temperatures.
Click the Add Check button. Creating a check session allows staff to input readings for each item on the schedule.
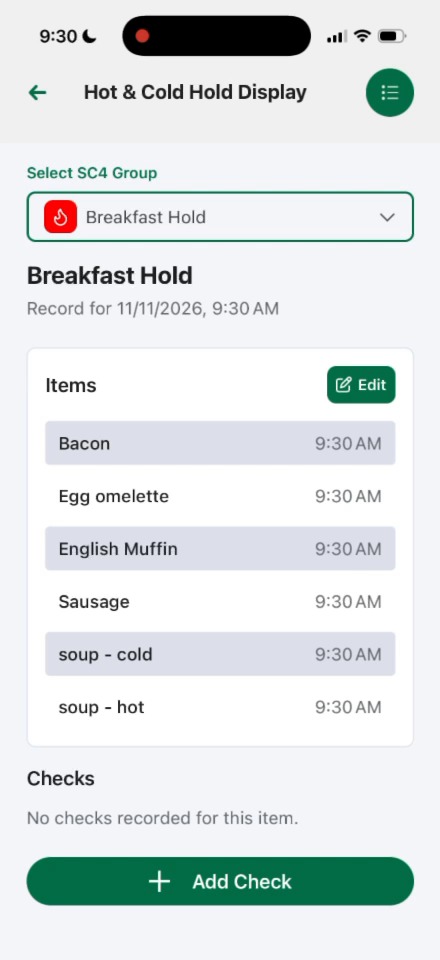
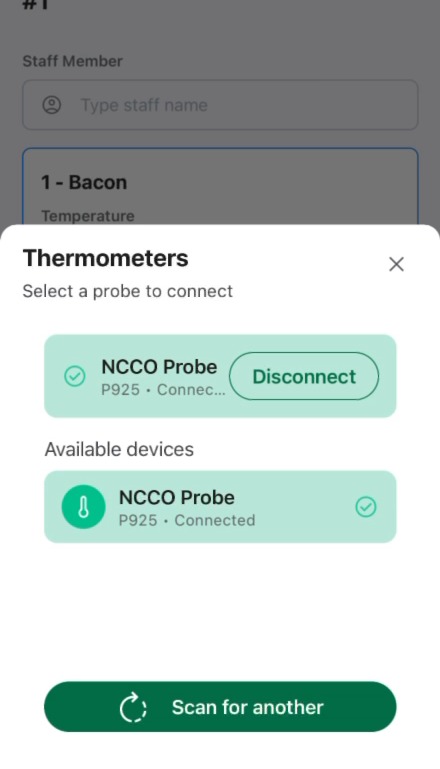
4. Turn on your bluetooth temperature probe then click the Connect button next to Thermometer. Connecting a Bluetooth temperature probe allows automated temperature capture.
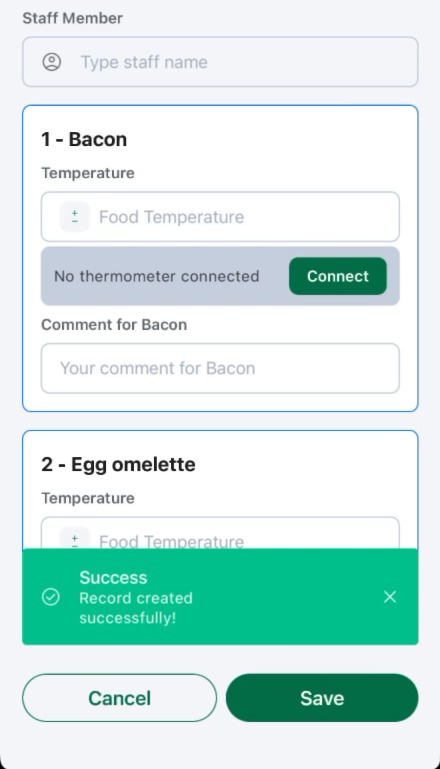
5. Click the NCCO Probe P925 option in the Thermometers menu. It will automatically pair the active probe to send live temperature readings directly to the app.
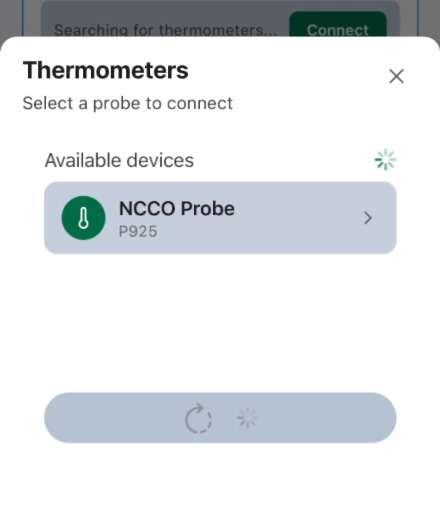
6. Click the Close button on the Thermometers modal. Dismissing the overlay returns to the main temperature log screen.
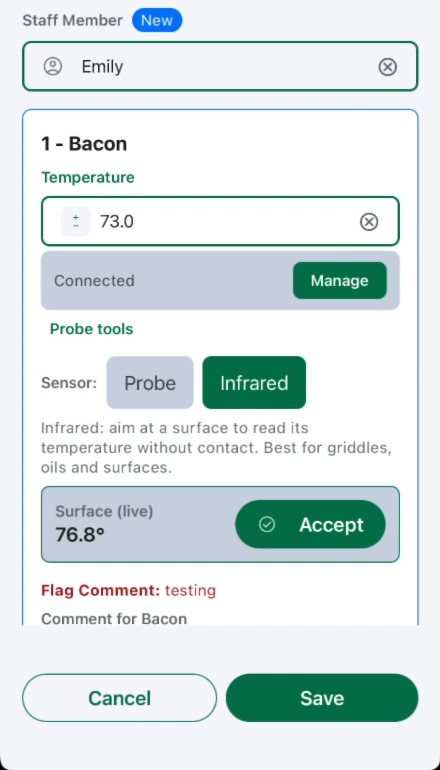
7. Select your sensor type. Click the Accept button for the live probe reading. Accepting the live measurement populates the temperature field for Bacon.
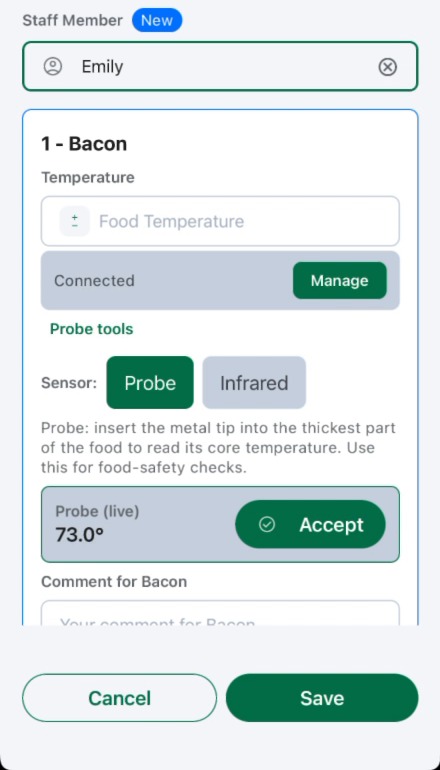
8. Select your sensor type. Click the Accept button for the live infrared reading. Recording the surface reading updates the item temperature field.