Printerkalibratie (Lite)
Als labels niet correct worden afgedrukt, doorgevoerd of gesneden, zal het kalibreren van de printer de zwarte lijn en scheur resetten voor correct afdrukken.
Er zijn opties om de printer te kalibreren:
Handmatige printerkalibratie
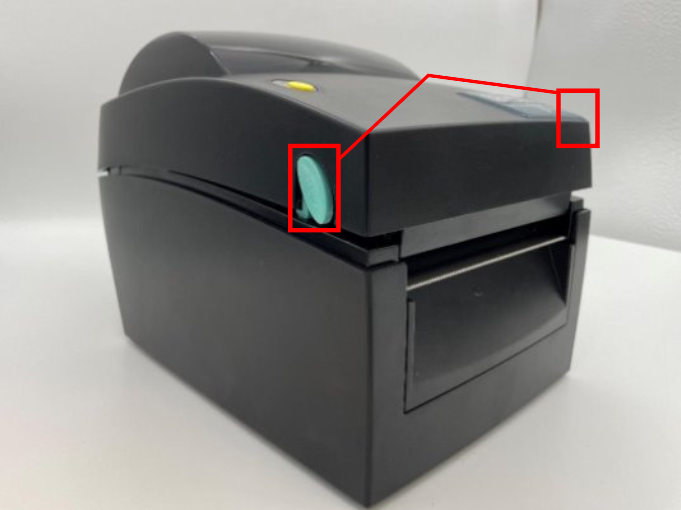
1. Open de printer door tegelijkertijd de twee blauw/groene ontgrendelingsknoppen van de printer in te drukken en deze omhoog te tillen.
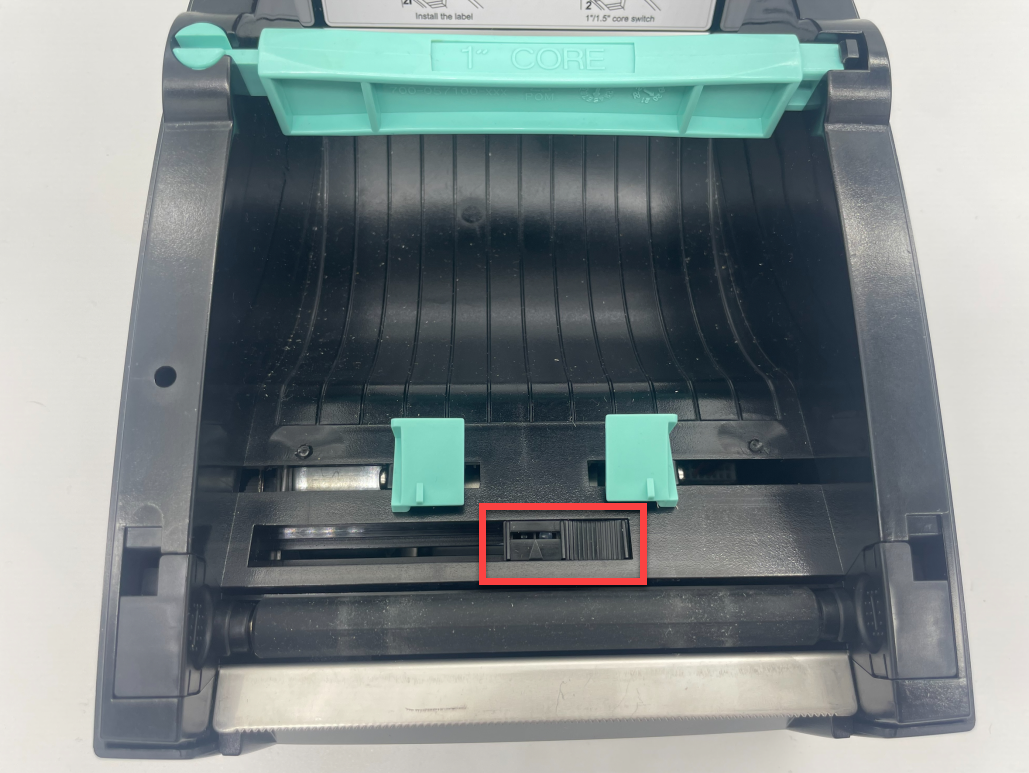
2. Schuif de zwarte lijnsensor helemaal rechts van de opening.
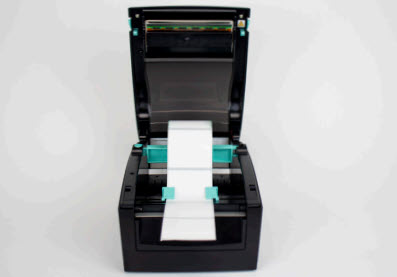
3. Voer de labels door de blauw/groene geleiders en steken over de rand van de printer uit. Pas de geleiders aan de breedte van het etiket aan en klik het printerdeksel dicht.
OPMERKING
Etiketten laden? Zie Labels laden in het Lite-modelapparaat .
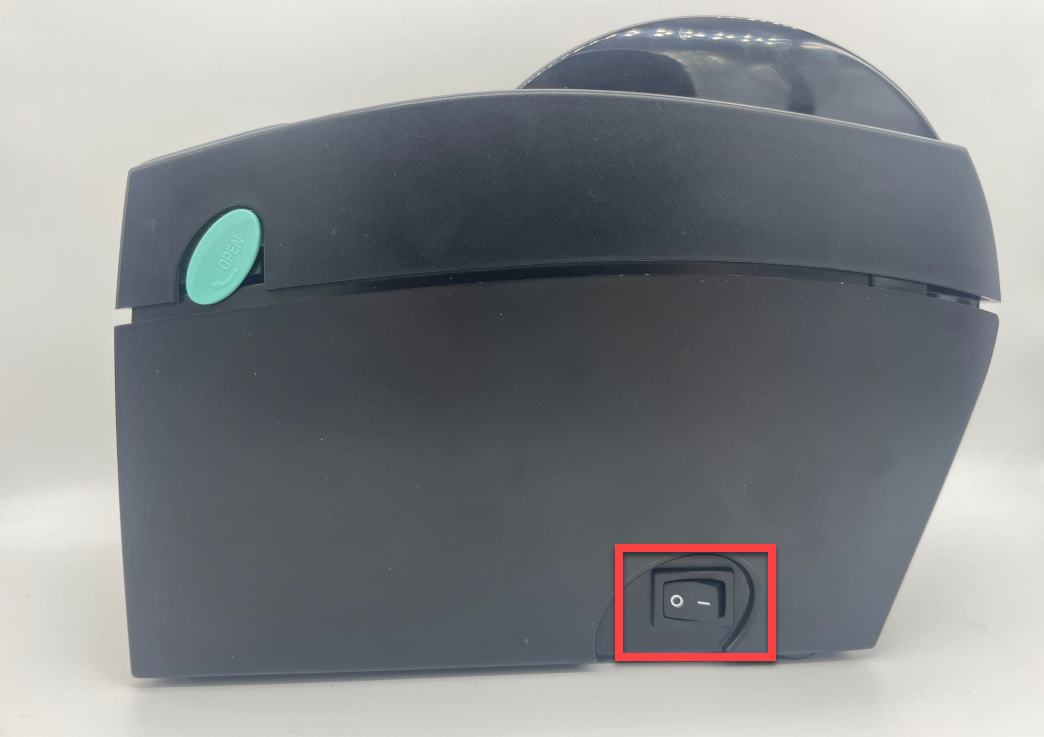
4. Zet de aan/uit-schakelaar in de O-stand om de printer uit te zetten.
5. Houd de gele voedingsknop met één hand ingedrukt terwijl u met de andere hand de stroom weer inschakelt. Laat de voedingsknop los wanneer u de pieptonen hoort en het rode lampje knippert. Er worden zelftestlabels afgedrukt.
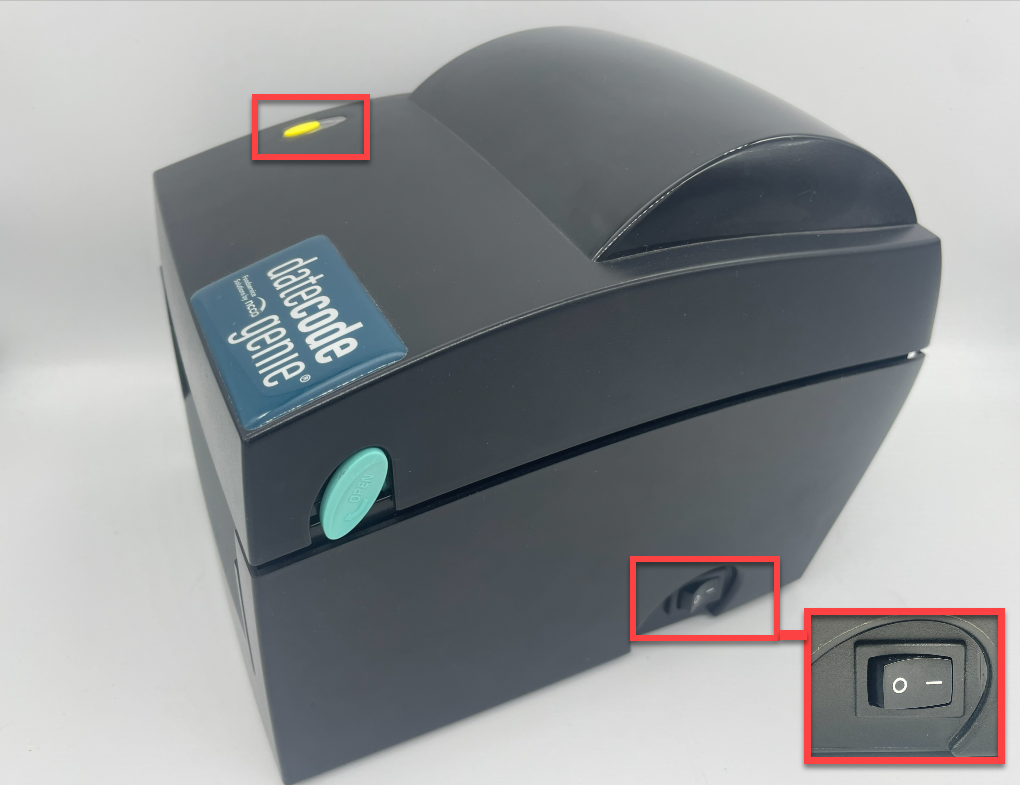
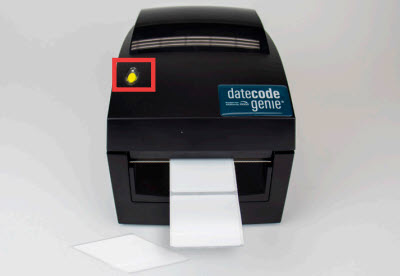
6. Druk nogmaals op de doorvoerknop om de labels door te voeren naar de zwarte lijn en trek ze naar beneden om ze te scheuren.
App-printerkalibratie
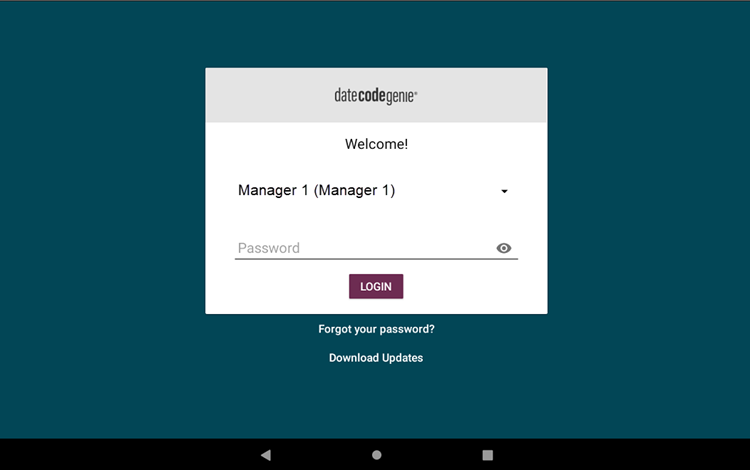
1. Log indien nodig in op de app met uw gebruikersnaam en wachtwoord.
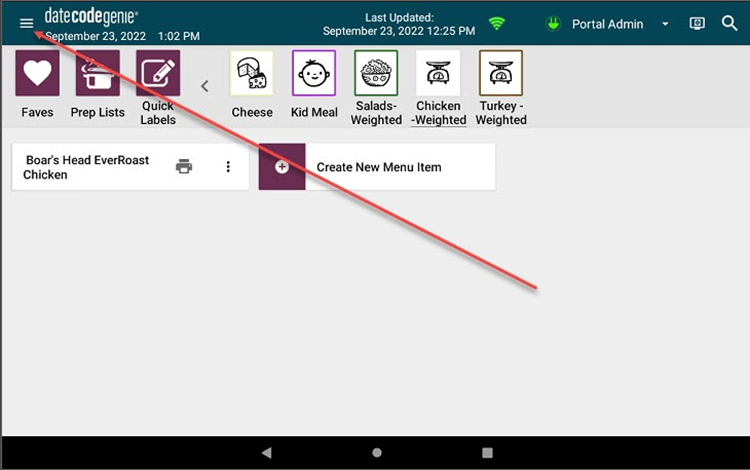
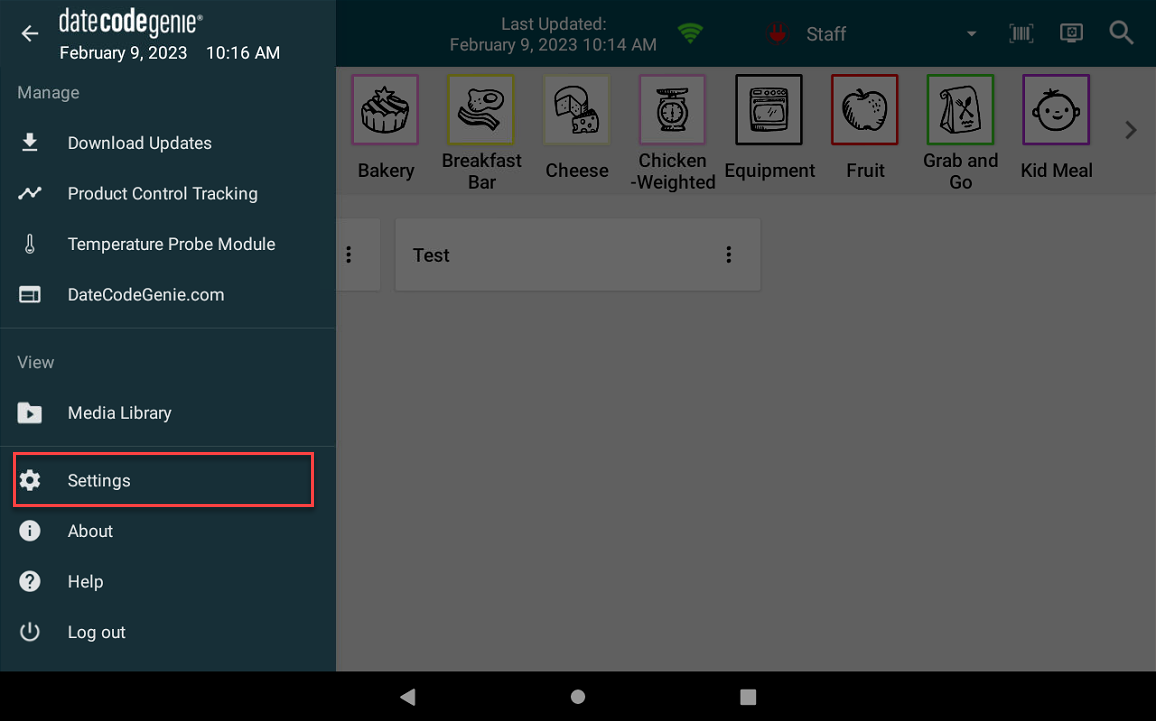
2. Tik op de navigatieknop (pictogram met drie lijnen) in de linkerbovenhoek.
3. Tik op Instellingen in het menu.
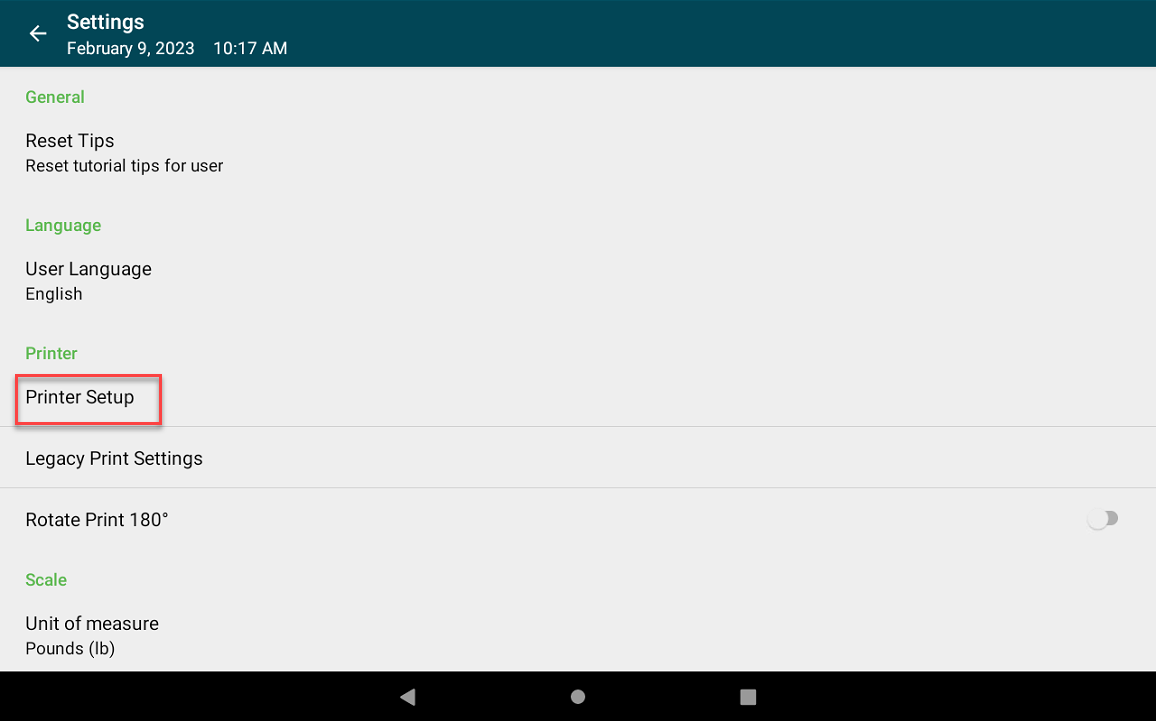
4. Tik op Printerinstellingen.
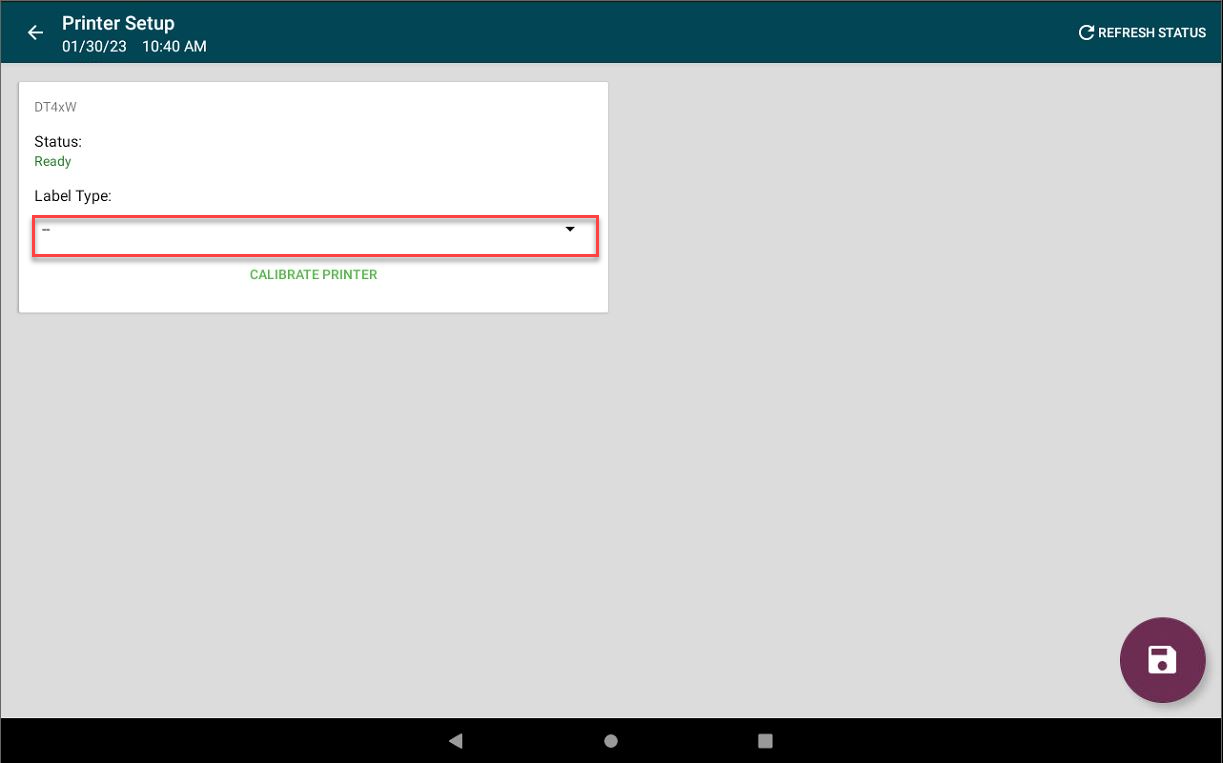
5. Voeg labeltype toe als er geen wordt vermeld.
OPMERKING
Een onjuist labeltype zal ertoe leiden dat de printer niet correct kalibreert.
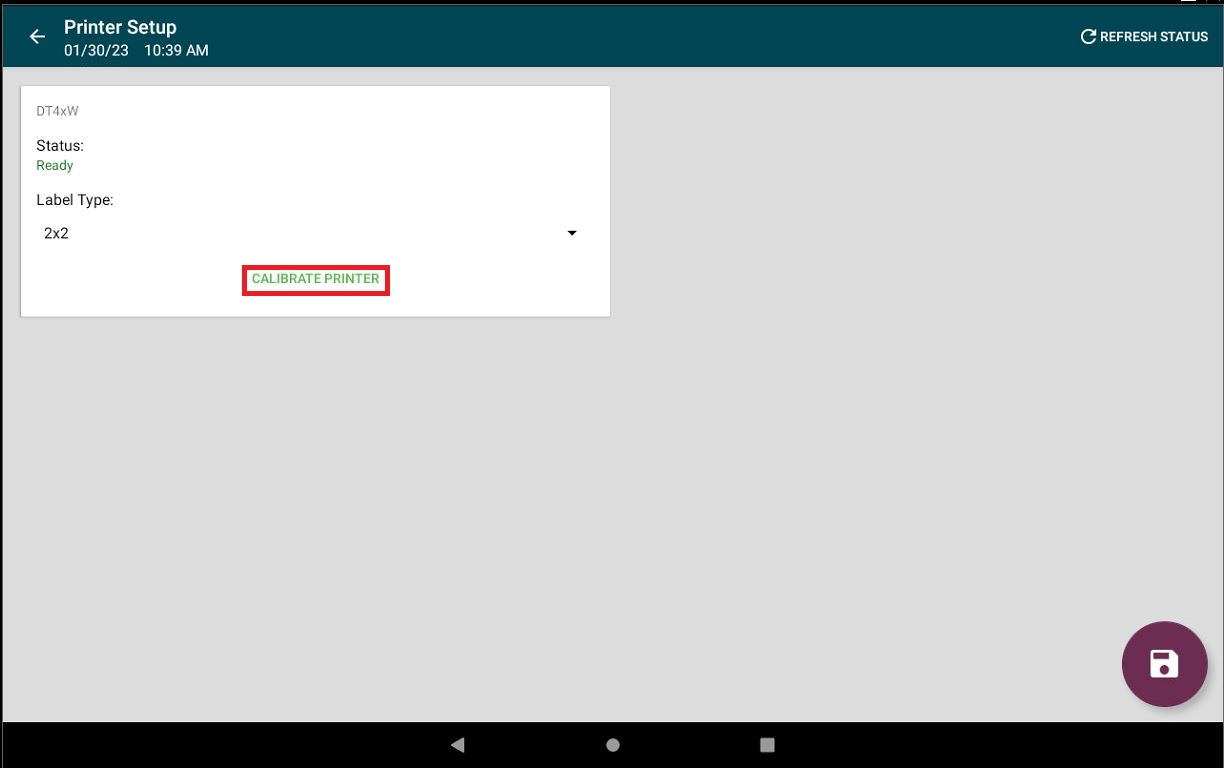
6. Tik op Printer kalibreren.
OPMERKING
De status moet "Gereed" zijn om labels af te drukken. Als u problemen ondervindt met de printerverbinding, raadpleegt u Probleem met printerverbinding (fout 300x1) voor Lite-apparaat .
7. Er wordt een zelftestlabel afgedrukt.


