
Printer Calibration (Lite)
Table of Contents
If labels are not printing, advancing or cutting correctly, calibrating the printer will reset the black line and tear for proper printing.
There are options for calibrate the printer:
Manual Printer Calibration
1. Open the printer by pressing the two blue/green printer release buttons at the same time and lifting upward.

2. Slide the black line sensor to the far right of the opening.

3. Feed labels through the blue/green guides and extend over the edge of the printer. Insert the blue/green roll guides onto the blue/green core bar and adjust them to the label width to ensure the roll remains centered.
| 3a. Slide one roll guide onto the blue/green core bar first. Place the label roll onto the bar against the first guide. | 3b. Slide the second roll guide onto the bar and adjust both so the roll is centered and snug. |
|---|---|
 |
 |

NOTE
Need to load labels? See Load Labels in the Lite Model Device.
4. Snap the printer lid closed.
5. Press the power switch to the O position to turn off the printer.

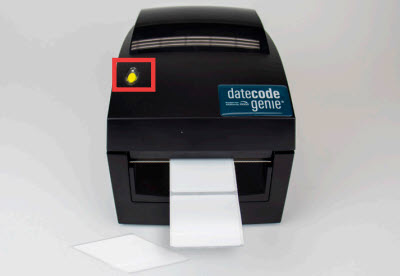
6. Hold the yellow feed button down with one hand while turning the power back on with the other hand, releasing the feed button when you hear the beeps and the red light flashes. Self-test labels will print.

7. Press the feed button once more to advance labels to the black line and pull down to tear.
App Printer Calibration
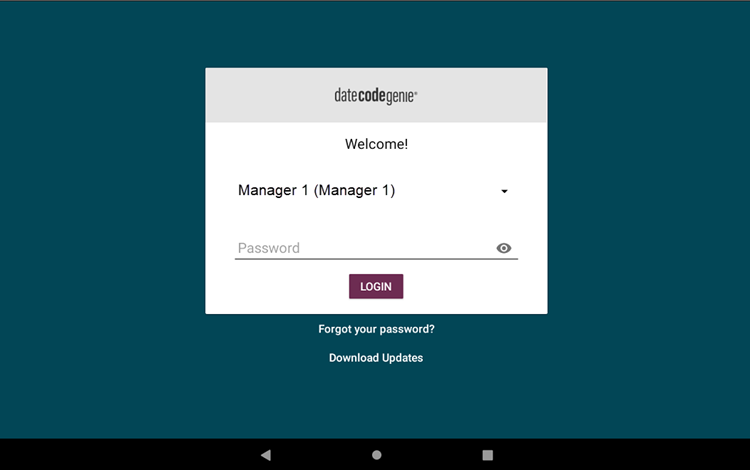
1. Log in to the app with your username and password, if required.
2. Tap the Navigation Button (three line icon) in the upper left hand corner.
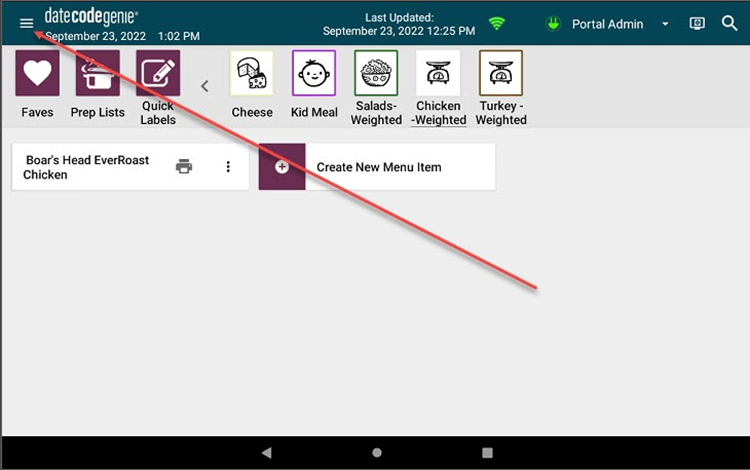
3. Tap Settings from the menu.
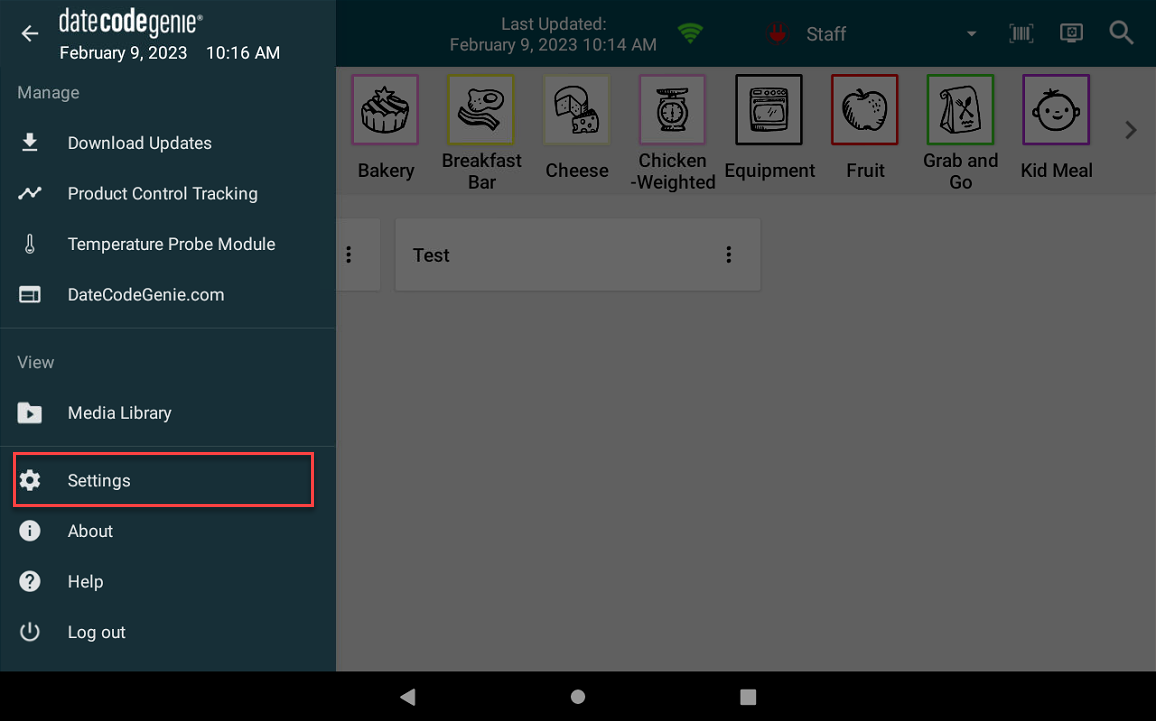
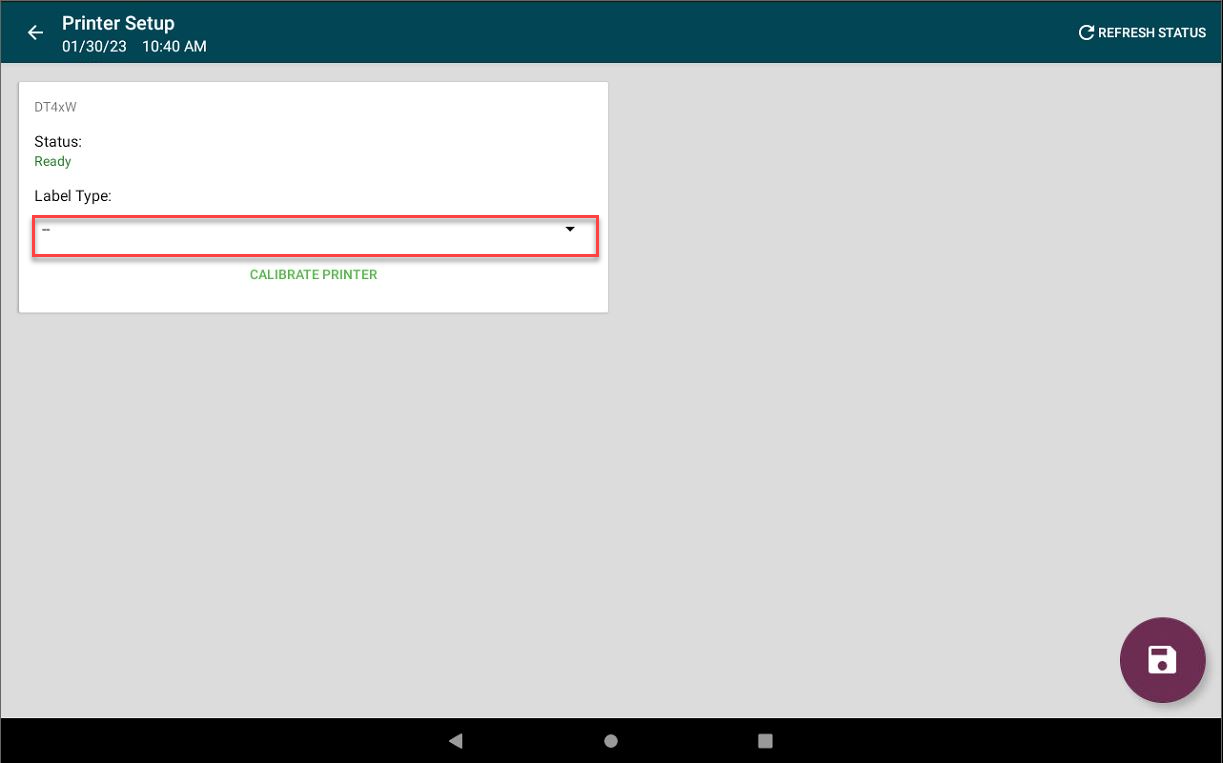
4. Tap Printer Setup.

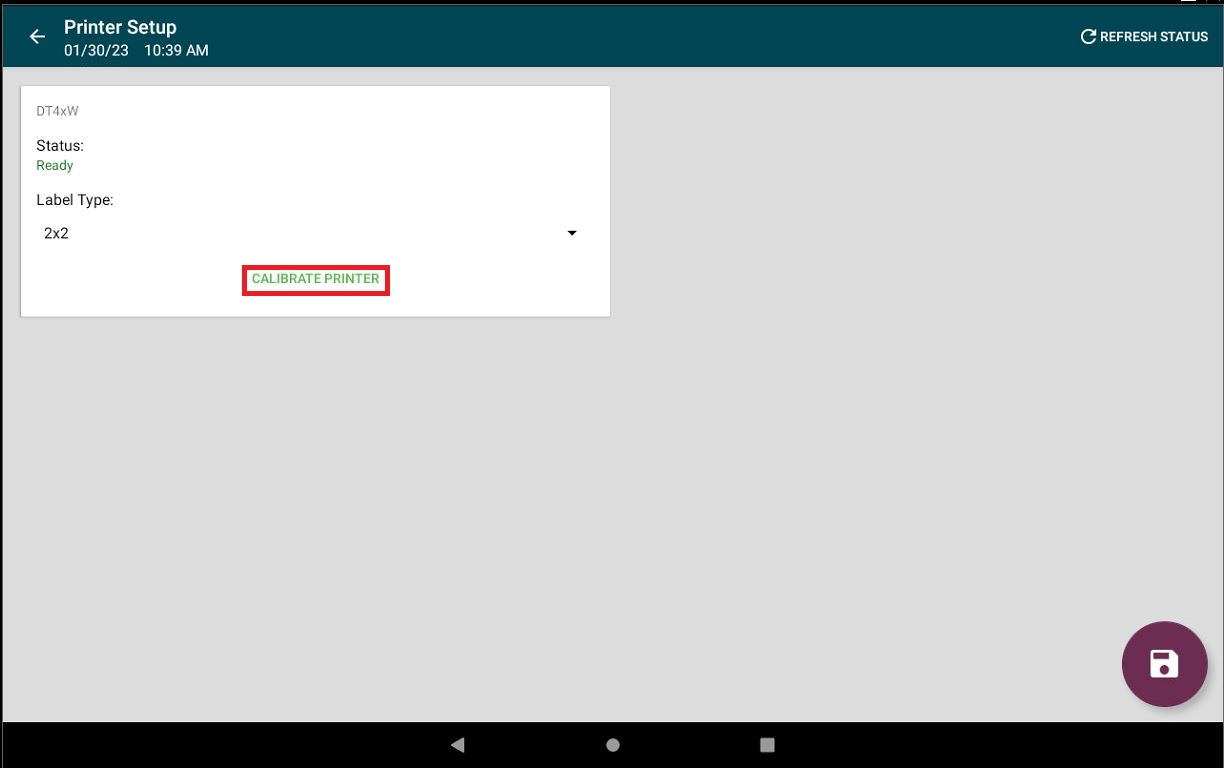
5. Add Label Type if none is listed.
NOTE
Incorrect label type will result in the printer not calibrating correctly.
6. Tap Calibrate Printer.
NOTE
Status needs to be "Ready" to print labels. If having issues with printer connection, see Printer Connection Issue (Error 300x1) for Lite Device.
7. A self-test label will print.
