Printer Calibration (X Series)
Calibrating the DateCodeGenie® printer may help if the printer is not cutting or advancing labels correctly. This article goes over calibrating the X Series (X2, X22, X23) printer.
Steps:
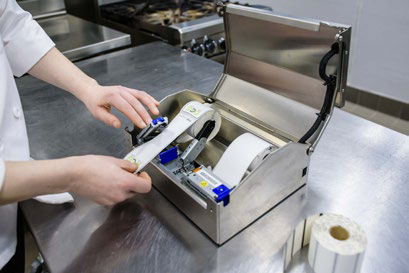
1. Check that label roll is loaded with the labels facing upward and with the black line facing down. For more information on label loading, see Load Labels in the X Model Device.

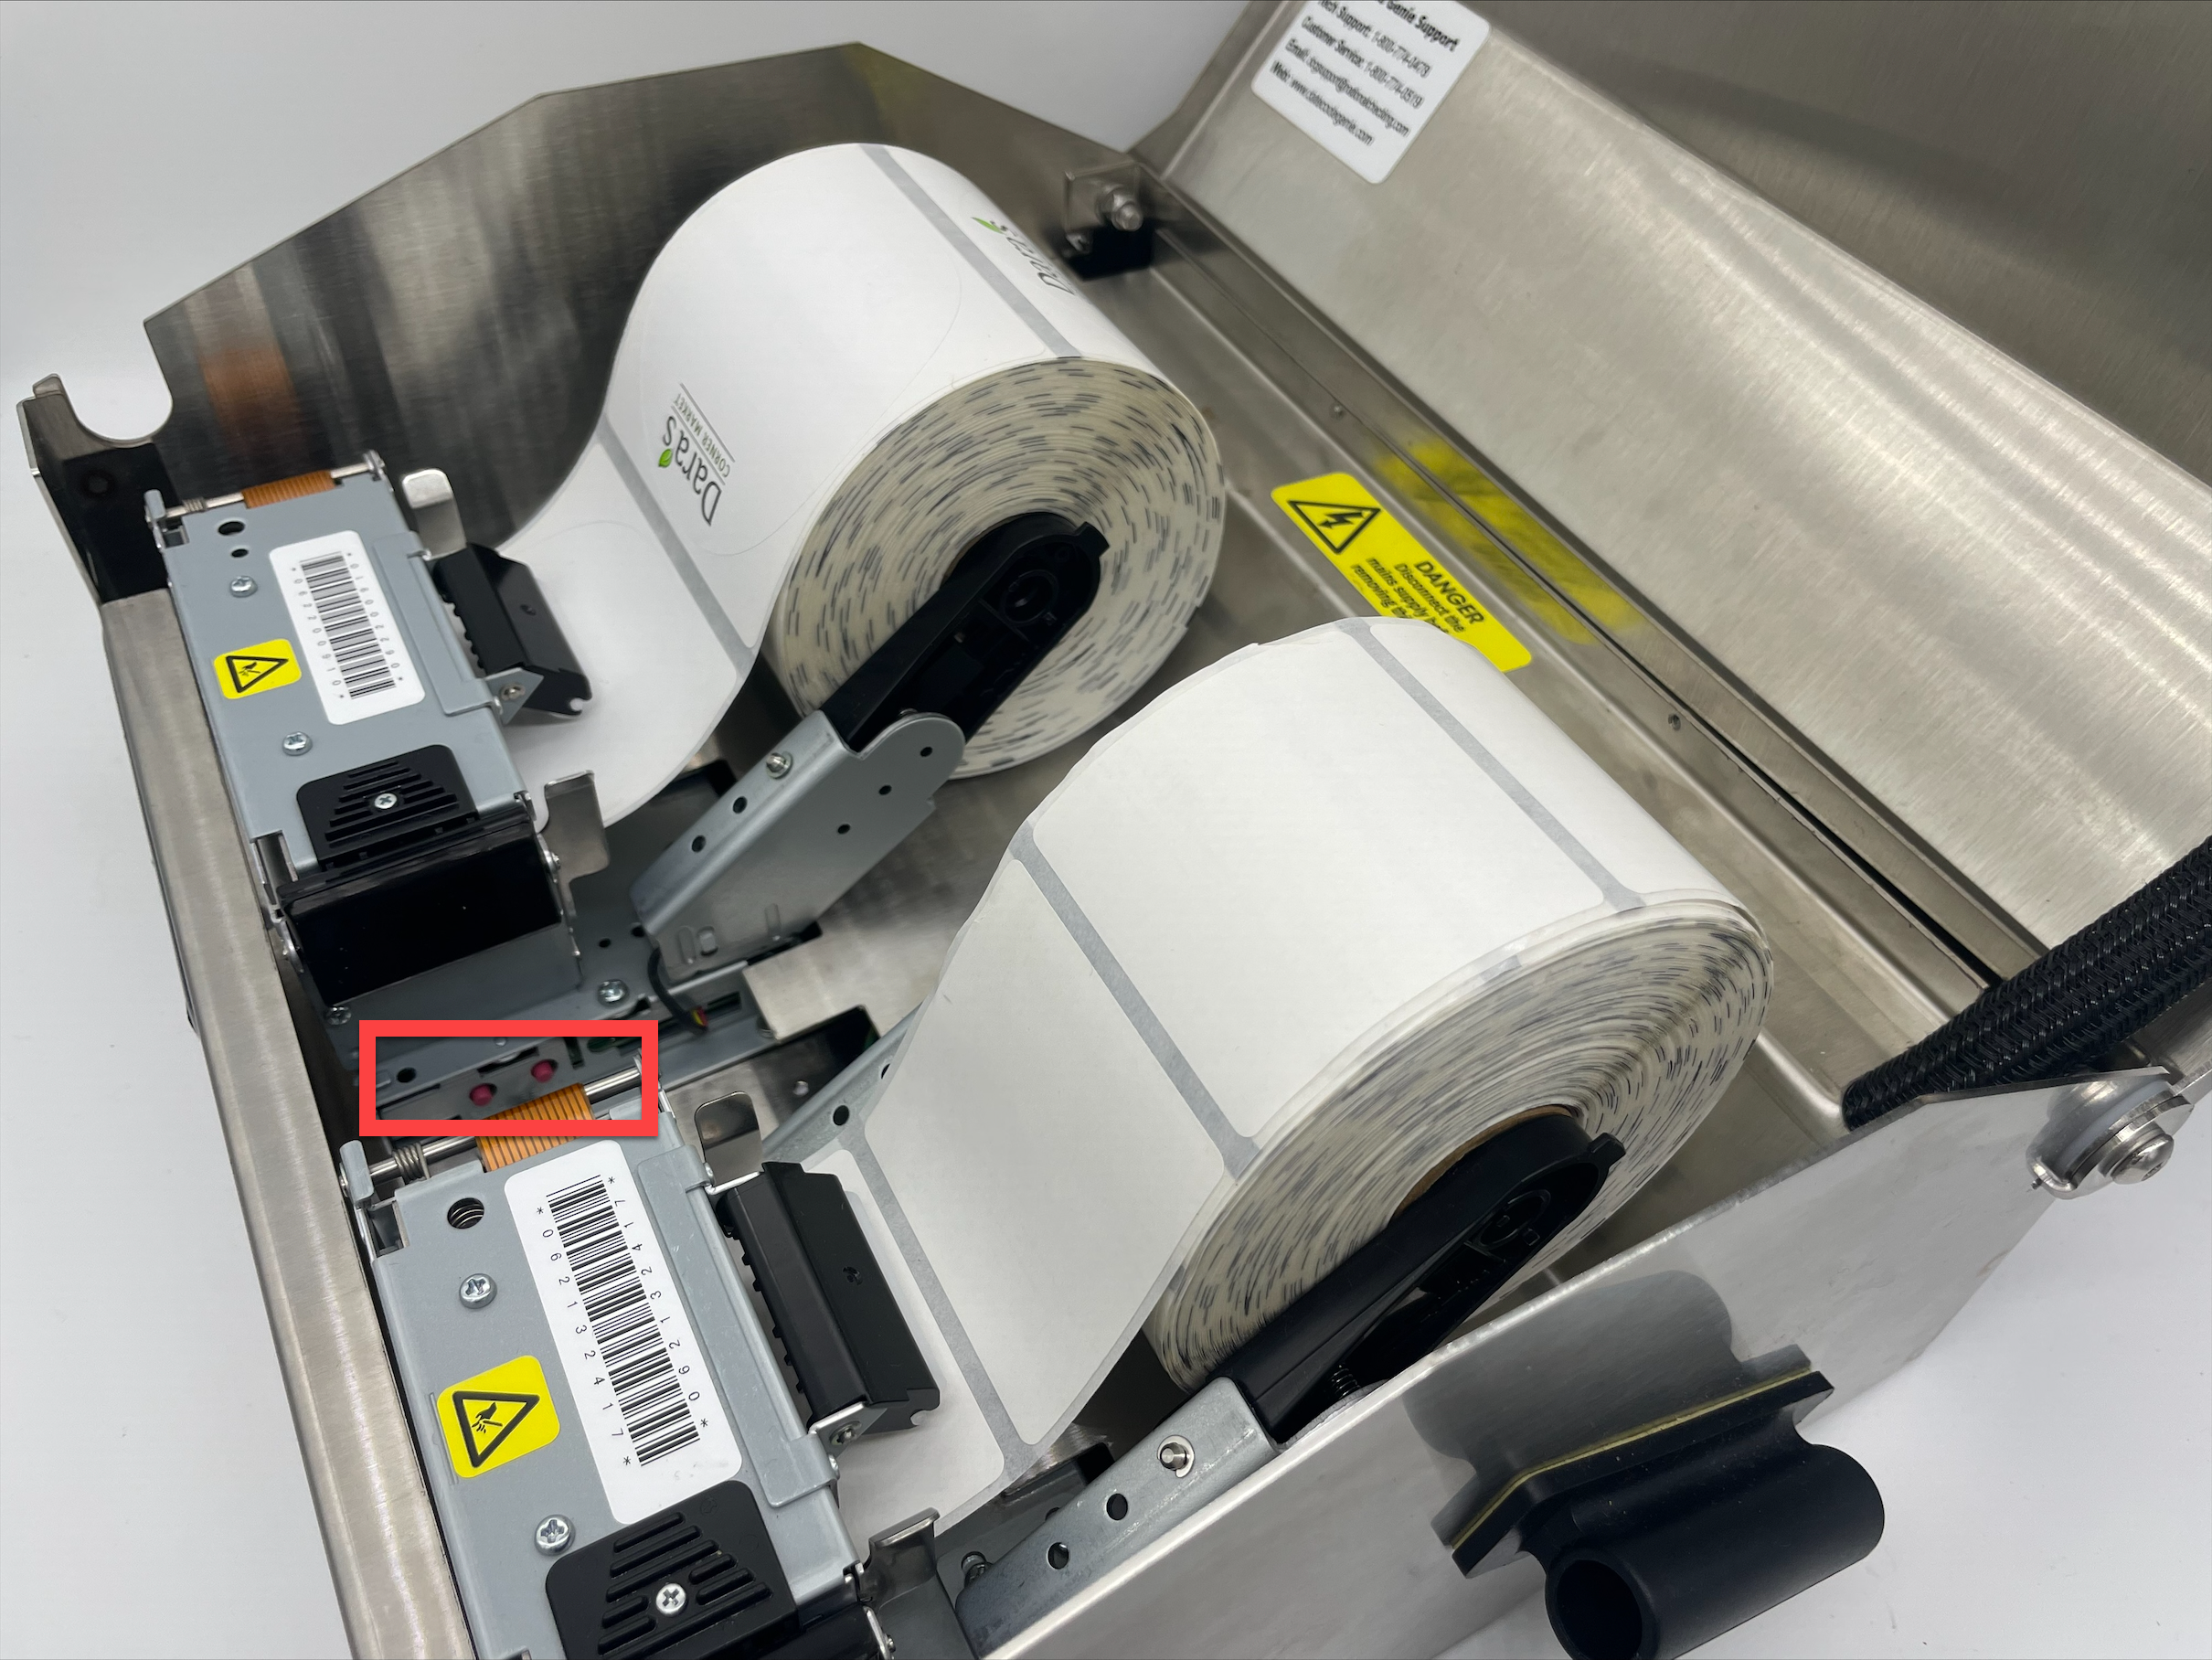
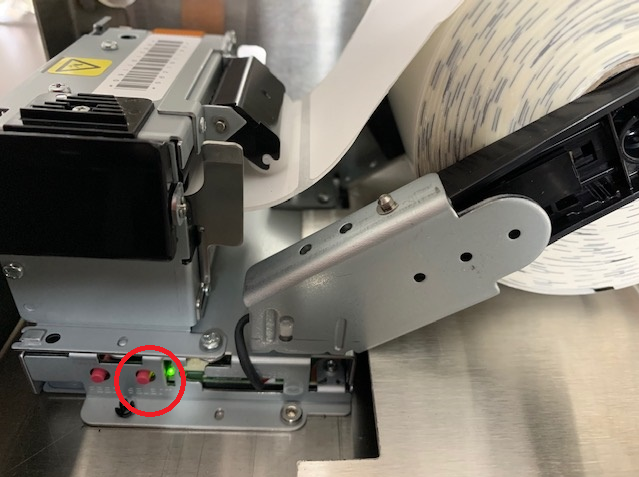
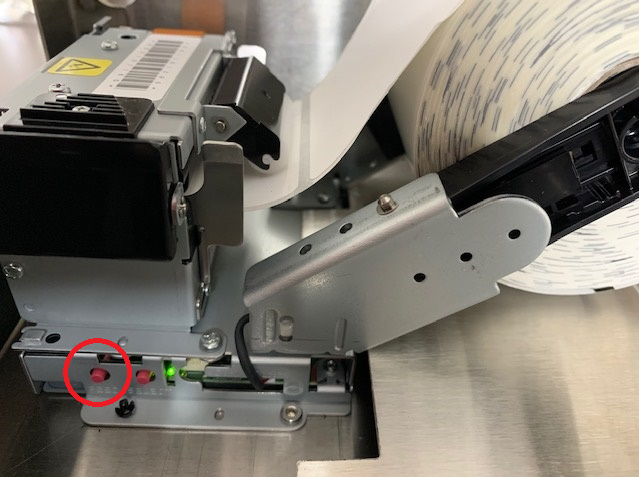
2. Locate the 2 red or black buttons on the right side of each printer near the bottom housing.
NOTE
A pencil can be used to gently press the buttons on the right sided printer if you cannot reach.

3. Press and hold the SELECT button, the BACK button, until the labels advance, then release.
NOTE
If labels continually feed and do not stop, replace with a new roll with a solid black line on the back. For more information on correct and incorrect labels, see DateCodeGenie® Labels.

4. Press the FEED button, the FRONT button. Labels will advance to the black line and cut.
NOTE
If the printer doesn't cut on a black line, repeat this step.

5. Repeat these steps for each printer.
Failed Sensitivity Errors: Failed sensitivity errors that occur during printer calibration can be caused by three things:
1. Missing or faded lines on the label
Check that there is a solid black line on the back of the label. To see incorrect labels, see the chart in DateCodeGenie® Labels.
2. Debris blocking the black line sensor
Clean the printer black line sensor and thermal head. See Device Placement, Maintenance and Cleaning.


