Print a Prep List on the App
Using a prep list on the app allows staff to print labels for a list of menu items at one time with the touch of a button.
Steps:
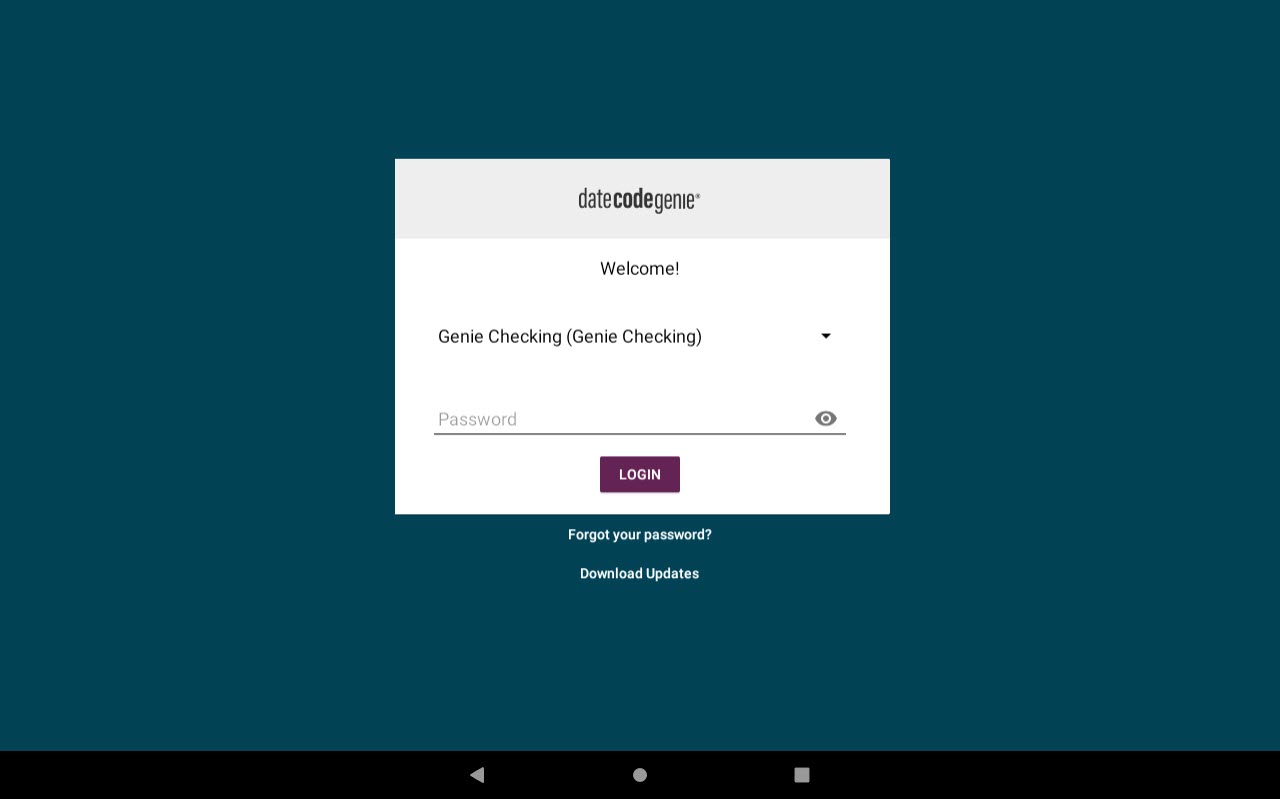
1. Log in to the app with your username and password, if required.
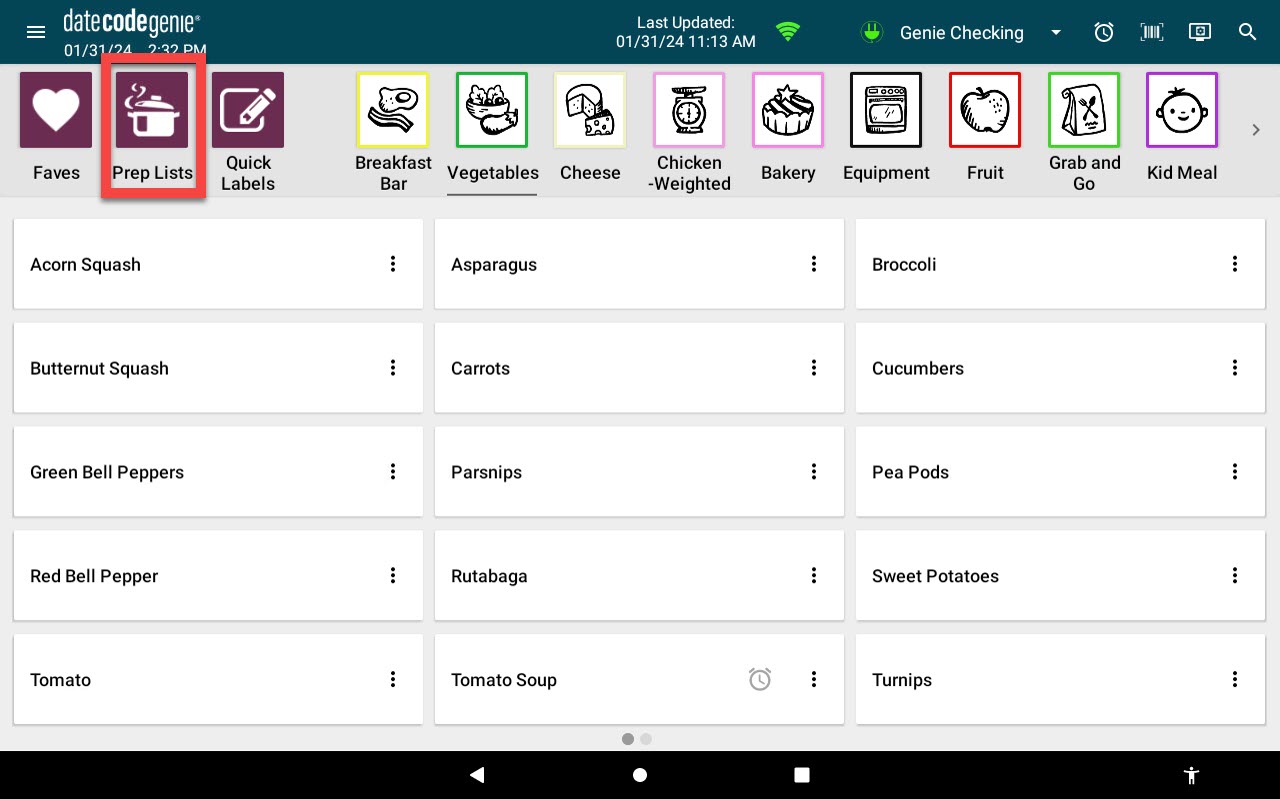
2. Tap Prep Lists button.
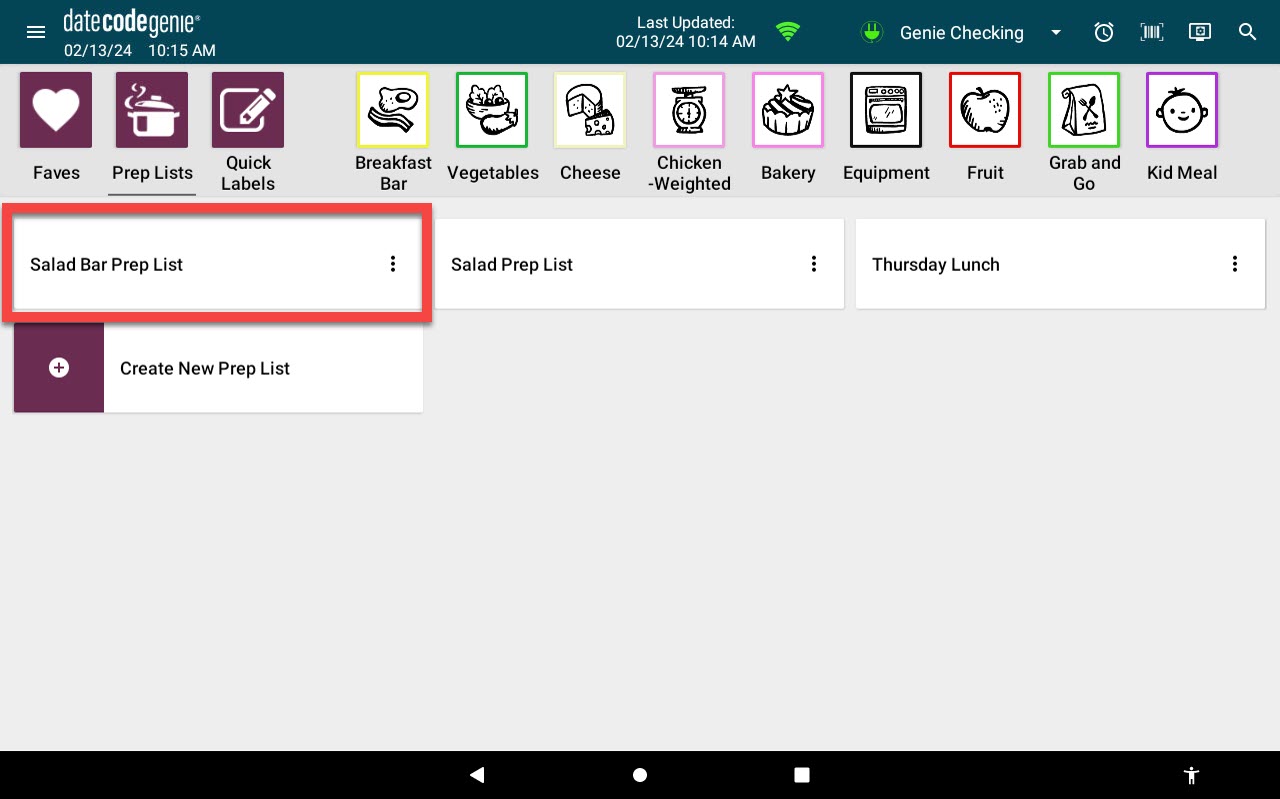
3. Tap the prep list needed.
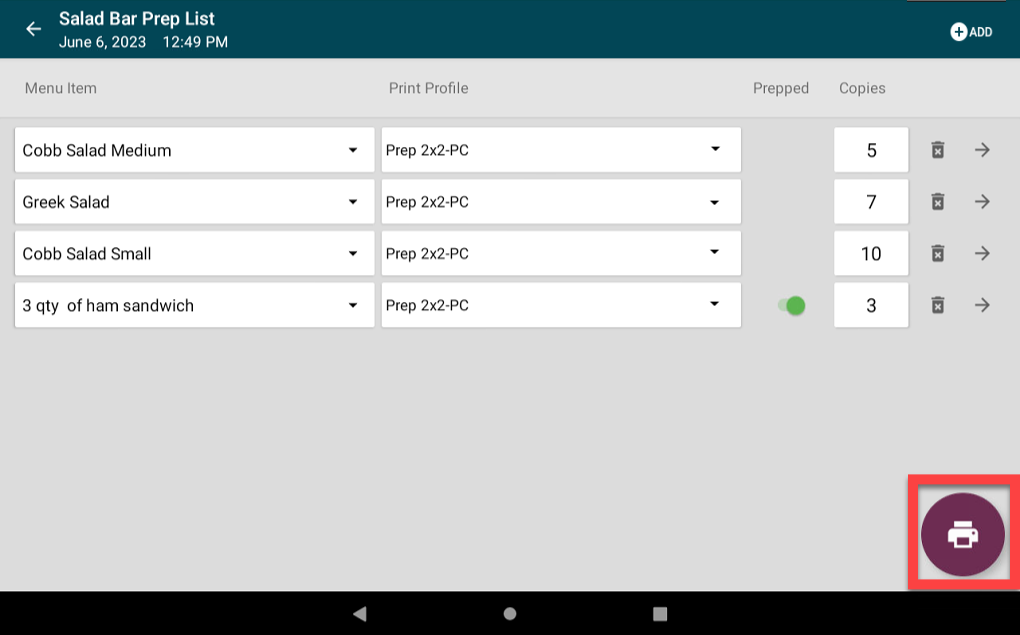
4. OPTIONAL: Edit menu items, printer profiles, quantity of menu items prepped for product control tracking, label copies printed, or delete items.
NOTES
- Changes made on the prep list screen will change the current print job only.
- If the need to add a new menu item on the app, see Allowed to Add Ad-Hoc Items Permission
- If the need to change printer profiles in a prep list, see Allowed to choose different printer profile than default Permission
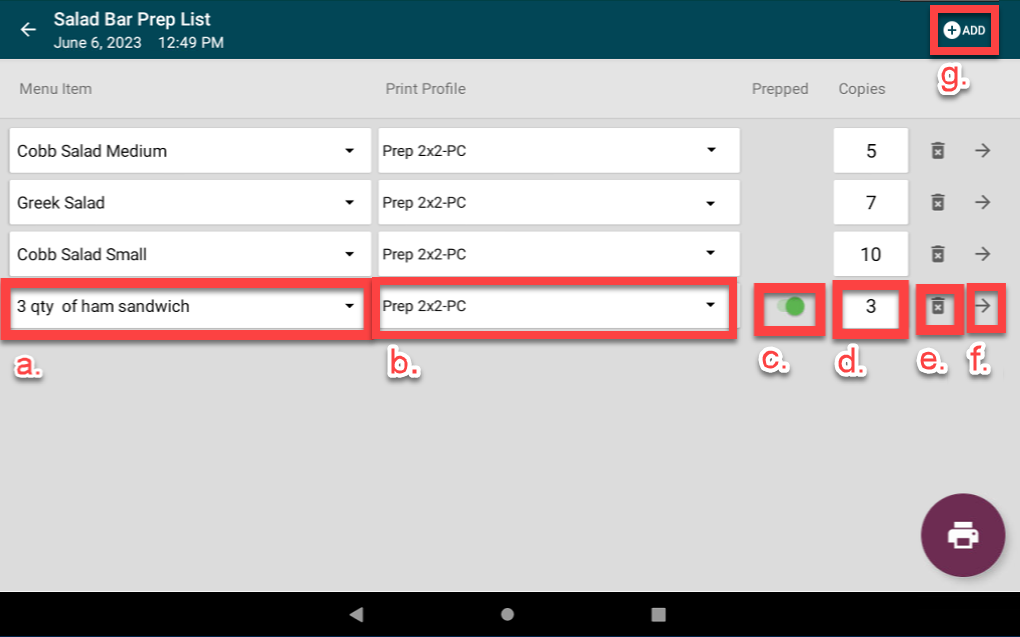
a. Menu item: Tap menu item name to select replacement from the drop down menu.
b. Printer profile: Tap printer Profile to select replacement from the drop down menu.
c. Prepped: Toggle turned on to green color by default. This is to record prepped quantity tracking for those menu items that use product control, see Allowed Prepped Quantity Override Permission
d. Copies: Tap to change the number of labels printed.
e. Delete: Tap the delete button (trash icon) to remove the menu item from the prep list.
f. Menu item print preview page: Tap the arrow button (arrow icon) to go to a menu item's print preview page.
g. Menu item or quick label: Tap the ADD button (plus symbol icon) to add an item or quick label.
5. Tap the print button (printer icon) when ready to print.
