
Add a Barcode
Table of Contents
Add 12 digits (UPC-A), 13 digits (EAN-13), and 14 digits (ITF-14) to your labels. For more information on barcode types, see Types of Barcodes.
NOTE
This article goes over adding fixed barcodes. For variable barcodes to use with scales, see Set Up Your Portal with the Scale to Weigh Items.
There are two tabs required to set up barcodes:
1. Items Tab
1. Log in to the portal at www.datecodegenie.com using the recommended browser. See Supported Internet Browser for Portal Access
2. Click on the Items tab.

3. Click the edit button (pencil icon) for an item or create a new item, see Manage Items

4. Click on Details tab.

5. Scroll down to Barcode Type to select barcode type.

6. Either enter the barcode number, or click the Generate button to create a random barcode.
NOTE
Generate barcodes for multiple items at one time, see Generate Several Barcodes at One Time.

7. Click Save Changes.

2. Printer Profiles Tab
Add the barcode feature to the printer profile so the item barcode will appear on the labels. To learn how to add or edit printer profiles, see Manage Printer Profiles.
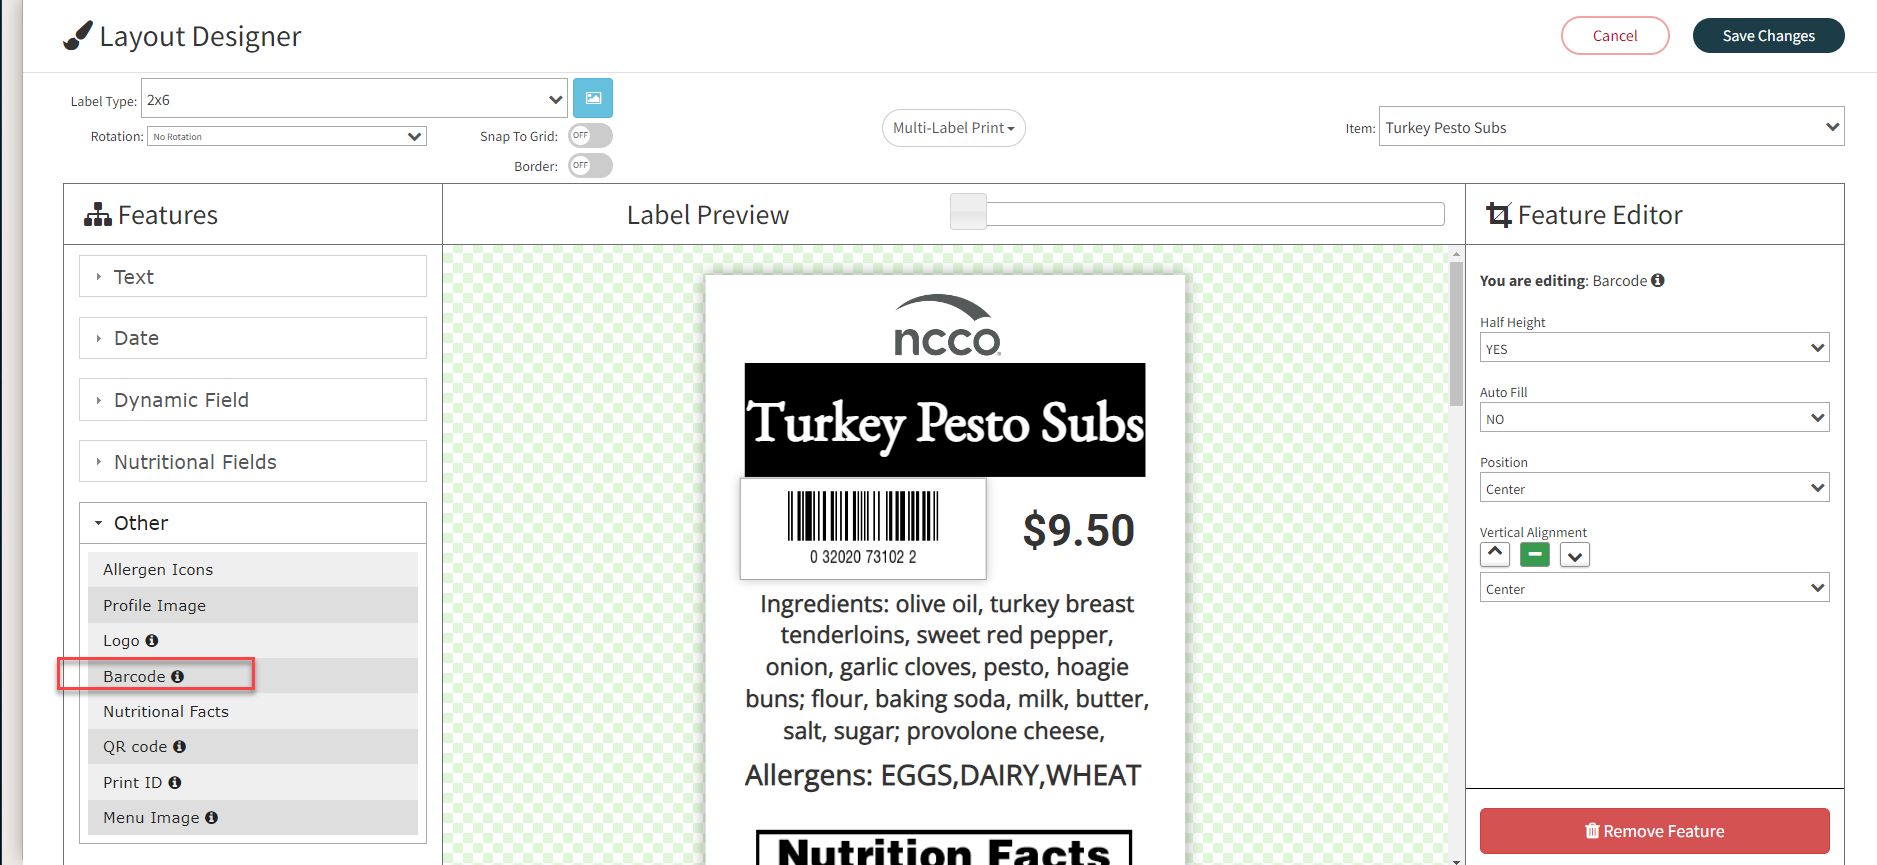
The barcode feature is located under the Other group in the Layout Designer.
NOTE
For barcodes to scan at the register, they will need to be programmed into your POS system. Check with the person in your organization who manages your POS system.
