US English (US)
FR French
DE German
ES Spanish
IT Italian
NL Dutch
menu

Contact Us

No results found. Still need help? Contact us

  • Scheduled Assistance
  • Contact Us
English (US)
US English (US)
FR French
DE German
ES Spanish
IT Italian
NL Dutch
arrow_back
  • DateCodeGenie
  • RightBytes
  • Task Manager
  • Scheduled Assistance
  • Contact Us

Logo is Not Printing on the Label

Contact Us

If you still have questions or prefer to get help directly from an agent, please submit a request.
We’ll get back to you as soon as possible.

  • Getting Started
    Getting Started Guides Set Up Training
  • Devices
    Troubleshooting Device Overview 2.0 Model X Series Model Fit Model Lite Model mC-Label3 Printer CL-S700III Printer Device Tablet Internet Connection Warranty & Support
  • App
    Error Codes Troubleshooting App Overview Mobile App Subscription Prep Lists Quick Labels Print History Product Control Location Overrides Temperature Probe Rosters Scale Language Settings
  • Portal
    Portal Overview Locations Groups Users Rosters Categories Containers Menu Items Printer Profiles Quick Labels Prep List Print History Product Control Temperature Probe Mass Import and Export Settings Media Library Support Location Overrides Scale
  • Admin Settings
    Start with Admin Settings Admin Settings Overview Locations Devices and Licenses
  • Accessories
    Bluetooth Scanner USB Scanner Temperature Probe Scale Label Rewinder Fit Printer Shelf Warranty
  • Labels
    Overview Troubleshooting
  • Repairs
    2.0 Model X Series Model Lite Model DateCodeGenie® Tablet
  • APIs
    Inbound APIs Outbound APIs
+ More
  • Home
  • DateCodeGenie
  • Portal
  • Printer Profiles

Table of Contents

Turn off Preprinted Logo feature Set a default logo for the location NOTE TIP & TRICK NOTE

The logo displays in the print preview on the app, but does not print on the label, either because the Preprinted Logo feature is turned on or no default logo is set for the location in the portal.

Turn off Preprinted Logo feature

1. Log in to the portal at www.datecodegenie.com using the recommended browser. See Supported Internet Browser for Portal Access

2. Click the Printer Profiles tab on the side bar.

3. Click the edit button (pencil icon) for the printer profile with the missing logo.

4. Click the Layout Designer button.

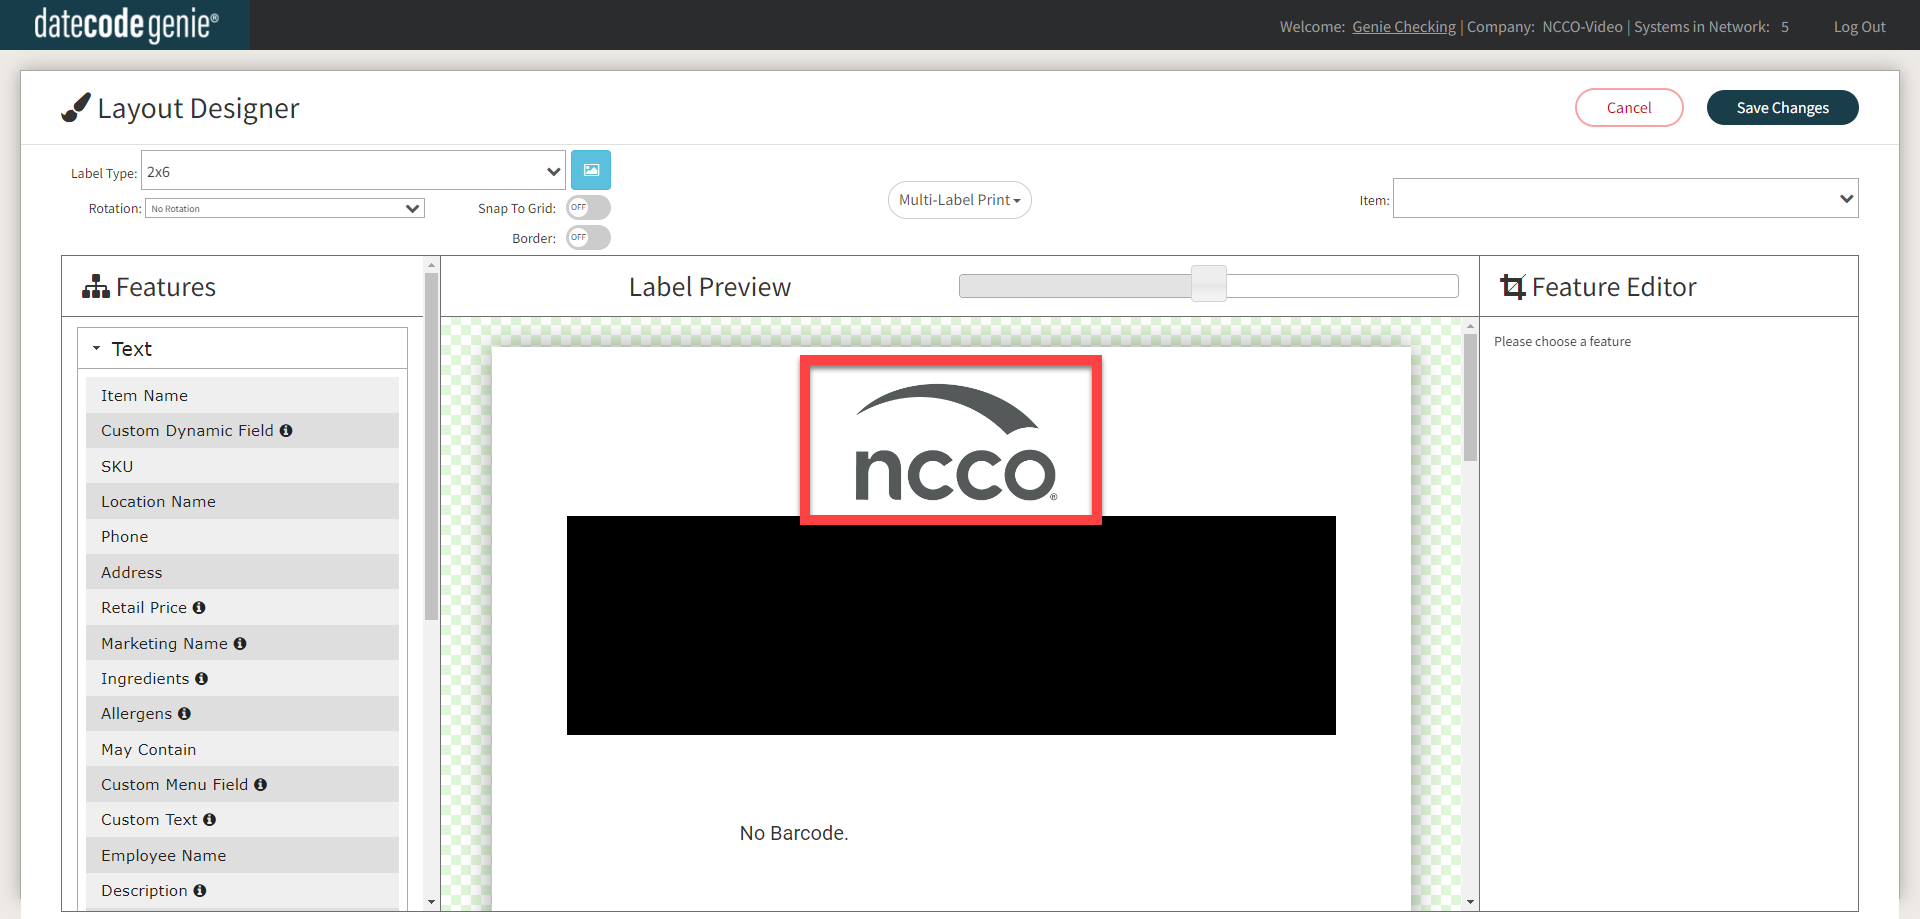
5. Click on the logo feature from the Label Preview to display settings in the Feature Editor.

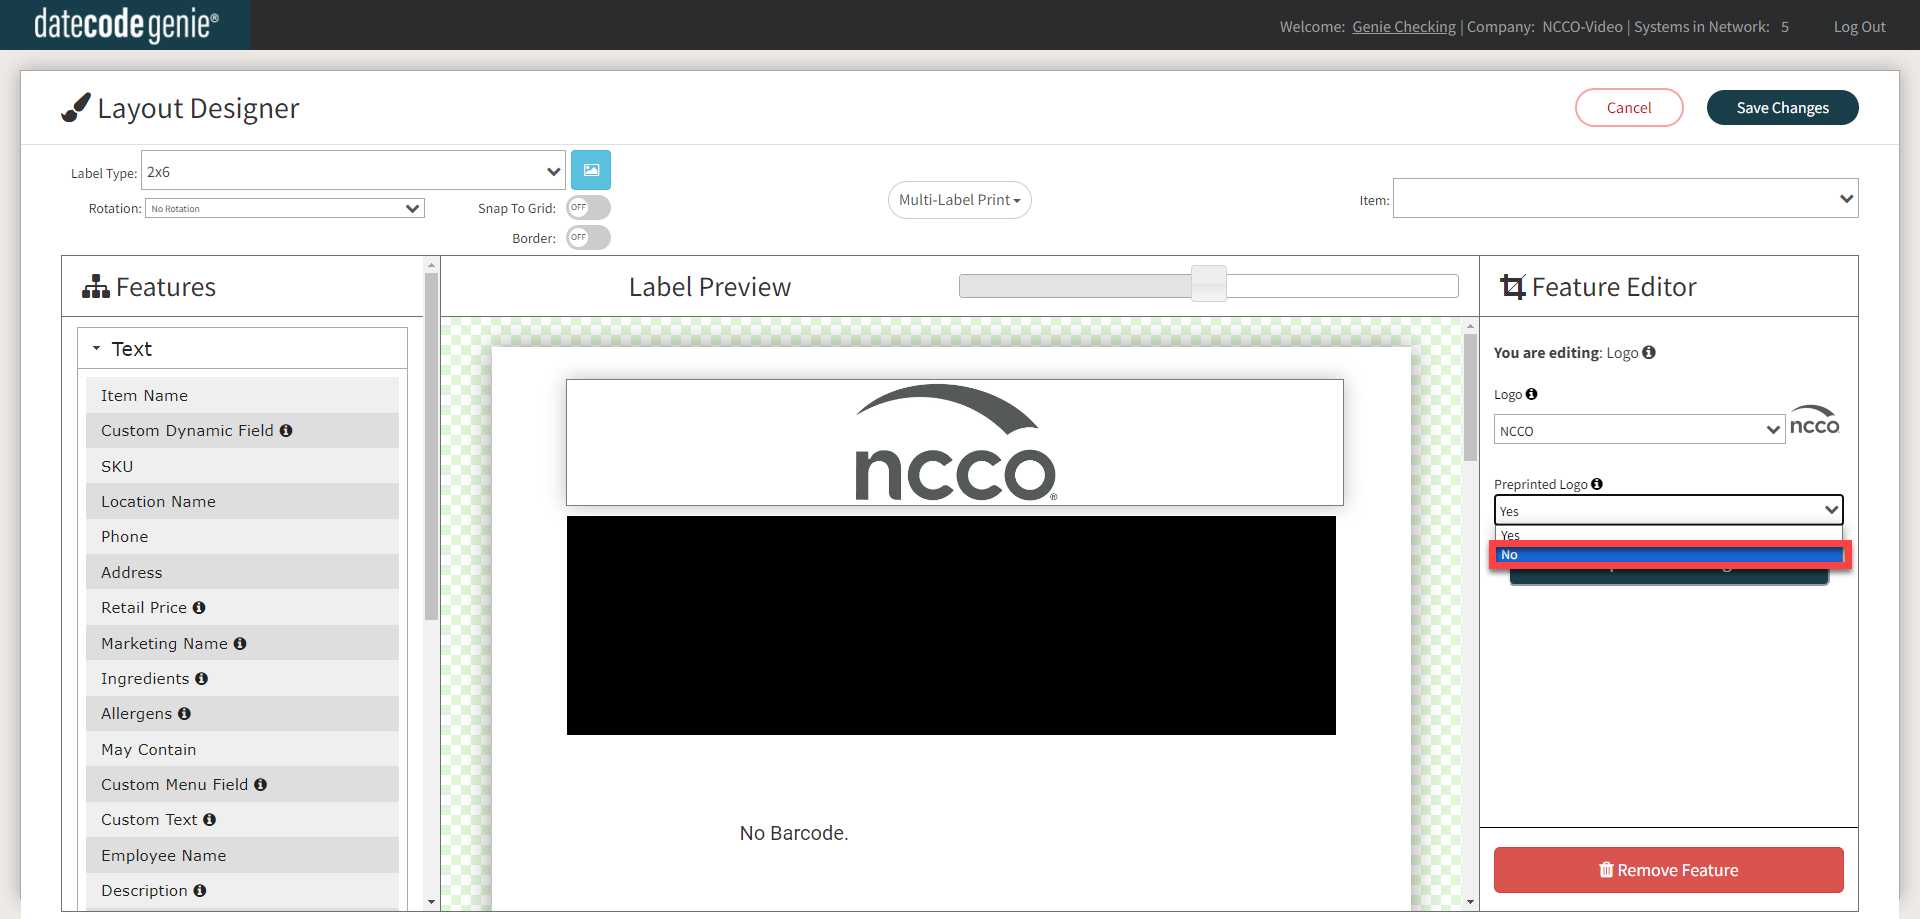
6. Click the Preprinted Logo dropdown and click No.

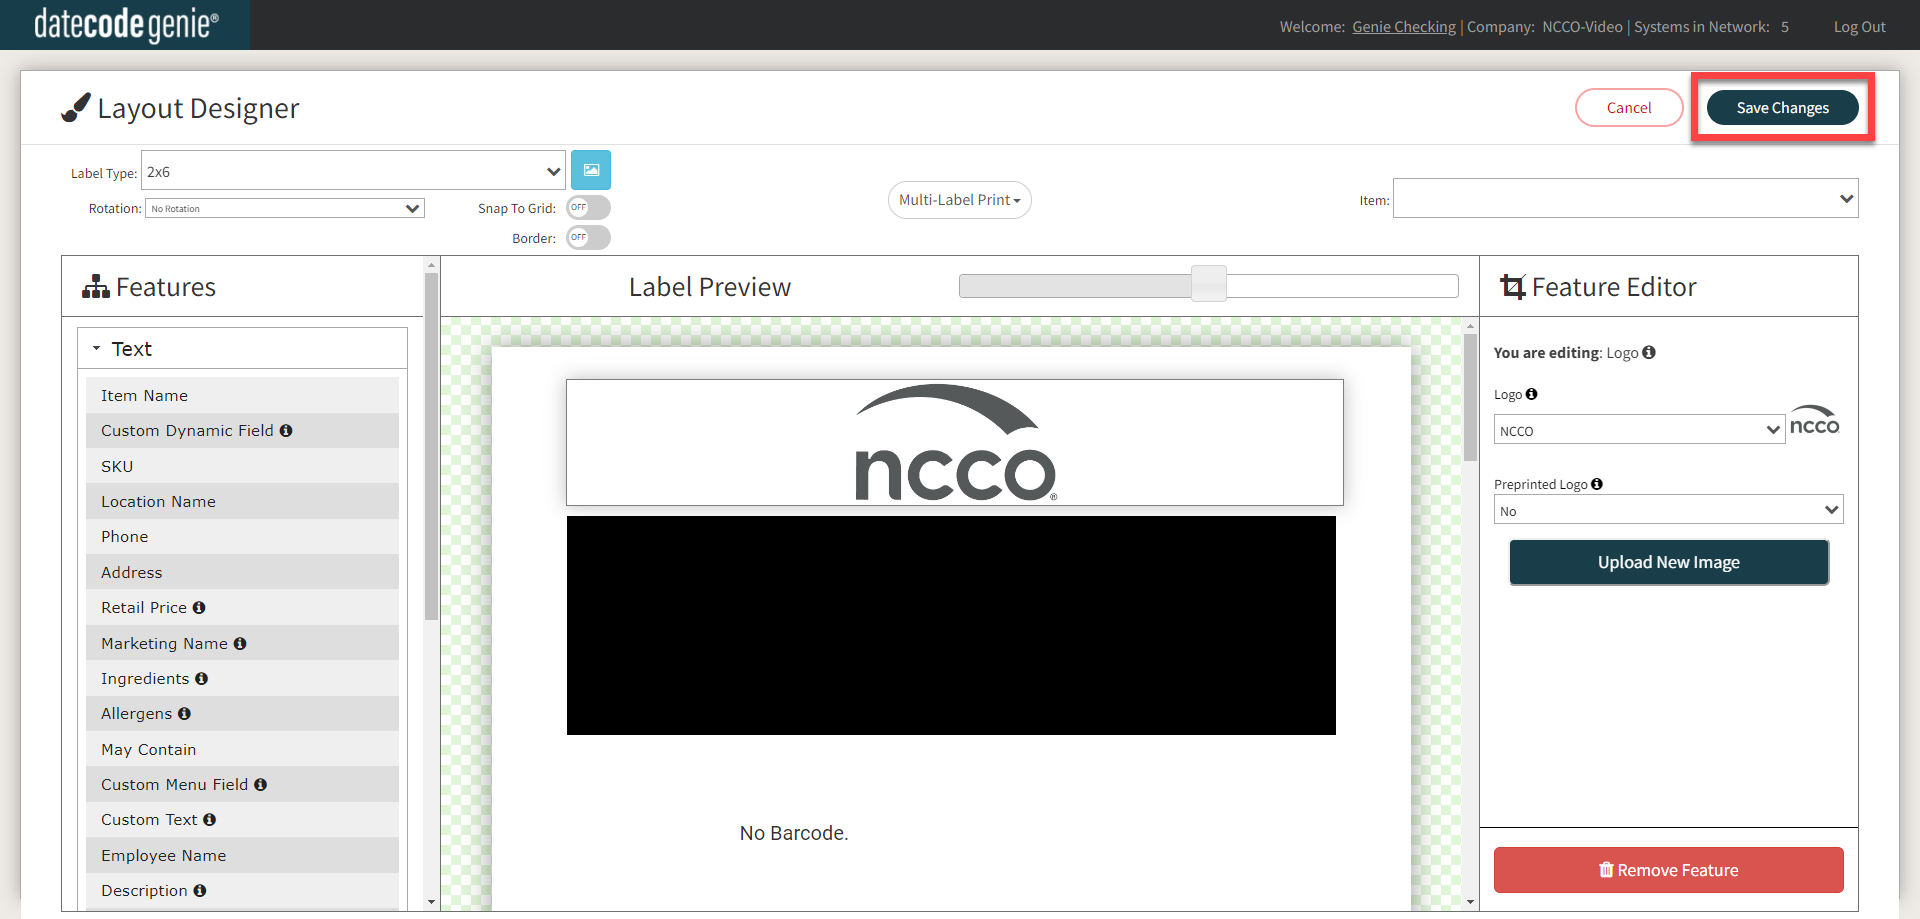
7. Click the Save Changes button.


Set a default logo for the location

1. Go to the Settings tab.

2. Scroll down to the Upload Logo section.

3. Click the Default checkbox next to a logo to set it as the default for that location.

NOTE

Each location can have a different default logo.


If a logo is already set as the default, a pop-up will ask to confirm the replacement. Click OK to update.

TIP & TRICK

Need to upload a logo first? If you have not uploaded your logos to the portal yet, see Add a Logo before trying to set a default.


4. Scroll up and click the Save button.

5. Return to the app and test print.

NOTE

If the logo still does not print, ensure the Preprinted Logo feature is turned off in the accordion above.


Related Articles

  • Add a Logo

Was this article helpful?

Yes
No
Give feedback about this article For additional assistance, see Contact & Support

Related Articles

  • Add a Logo
© 2026 DateCodeGenie

899 Montreal Circle, St. Paul, MN 55102

Privacy Policy

Learn more about our product
contact us
About NCCO

Knowledge Base Software powered by Helpjuice

Expand