Add a Logo
Table of Contents
Logos are uploaded in the portal and added to printer profiles or quick labels as a feature. Logos use thermal transfer on labels in the color black and uploaded logos listed appear in the dropdown of the feature editor.
You can also set a default logo to automatically apply unique branding for each location using a single printer profile.
Logo files need to be:
- Saved in black and white
- PNG or JPEG file
- Tightly cropped
NOTES
- Colored logos will upload but may not print on labels as desired since thermal printing doesn’t allow printing in grayscale.
- If using a logo on a custom preprinted label, see Printing on Custom Preprinted DateCodeGenie® Labels.
There are 2 ways to upload a logo.
- Settings tab
- Add for all locations
- Add to a specific location
- Set the default logo for a location. A confirmation will appear if replacing an existing logo
- Layout Designer
- The logo will be saved and added to all locations
- Select Use Location Default Logo for automatic branding across multiple locations with one printer profile as an option
1. From Settings Tab
1. Log in to the portal at www.datecodegenie.com using the recommended browser. See Supported Internet Browser for Portal Access
2. Scroll down and click on the Settings tab on the side bar.

3. Click the Logos tab.

4. Add logo to all or a specific location.
a. All locations: Click + Upload Image, then drag and drop an image or browse.
 |

|
b. Specific location: Drag and drop an image or browse, then turn on the Specific Location toggle to select a location from the dropdown.

TIP & TRICK
Save time! Clicking Add Image next to a specific location automatically selects that location for you in the upload window.

5. Click Upload.

6. OPTIONAL: Click Edit next to the logo you want to edit.

7. Replace the logo.

8. Type a new name for the logo.

9. Click the Default toggle next to a logo to set as the default logo for that location.

NOTES
- Each location can have a different default logo.
- Only one logo can be set as the default per location. If you select a new one, a pop-up will ask to confirm the replacement. Click OK to update or Cancel to keep the current logo.

10. Click Submit.

2. From Layout Designer
1. Click on the Printer Profile tab on the side bar.

2. Click the edit button (pencil icon) from a Printer Profile to edit, or add new Printer Profile. See Manage Printer Profiles.

3. Scroll down and click the Layout Designer button to open the Layout Designer window.

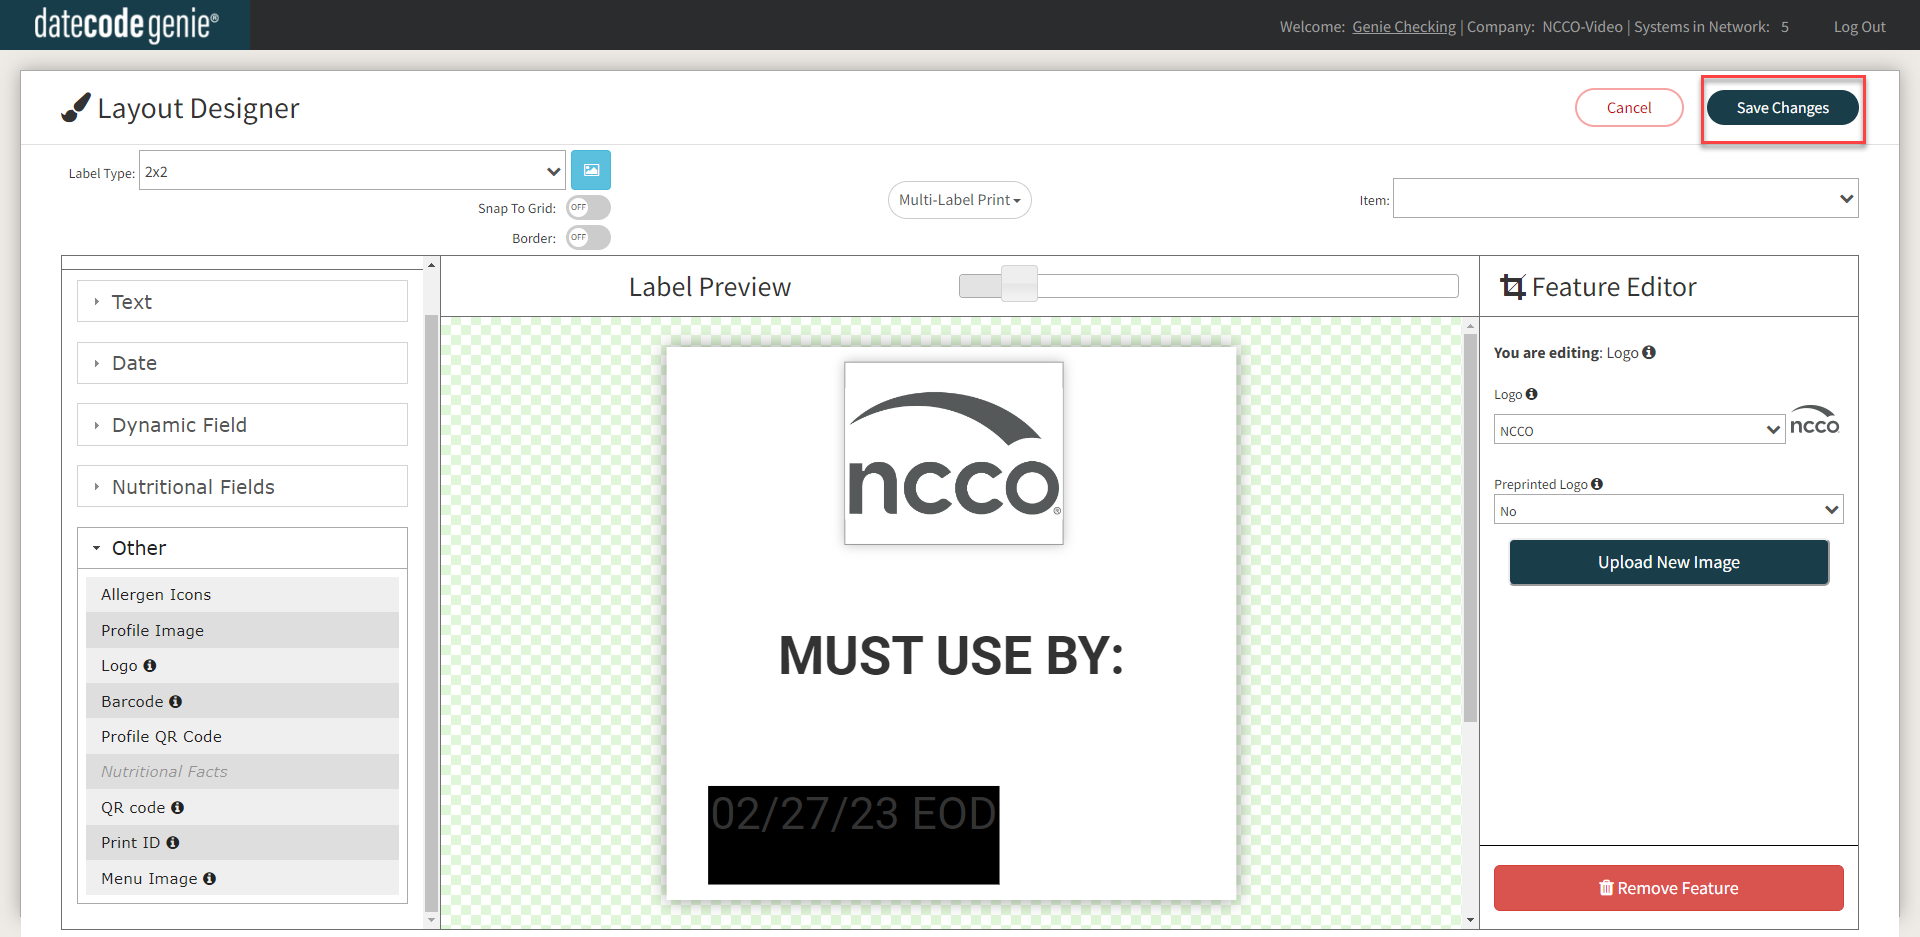
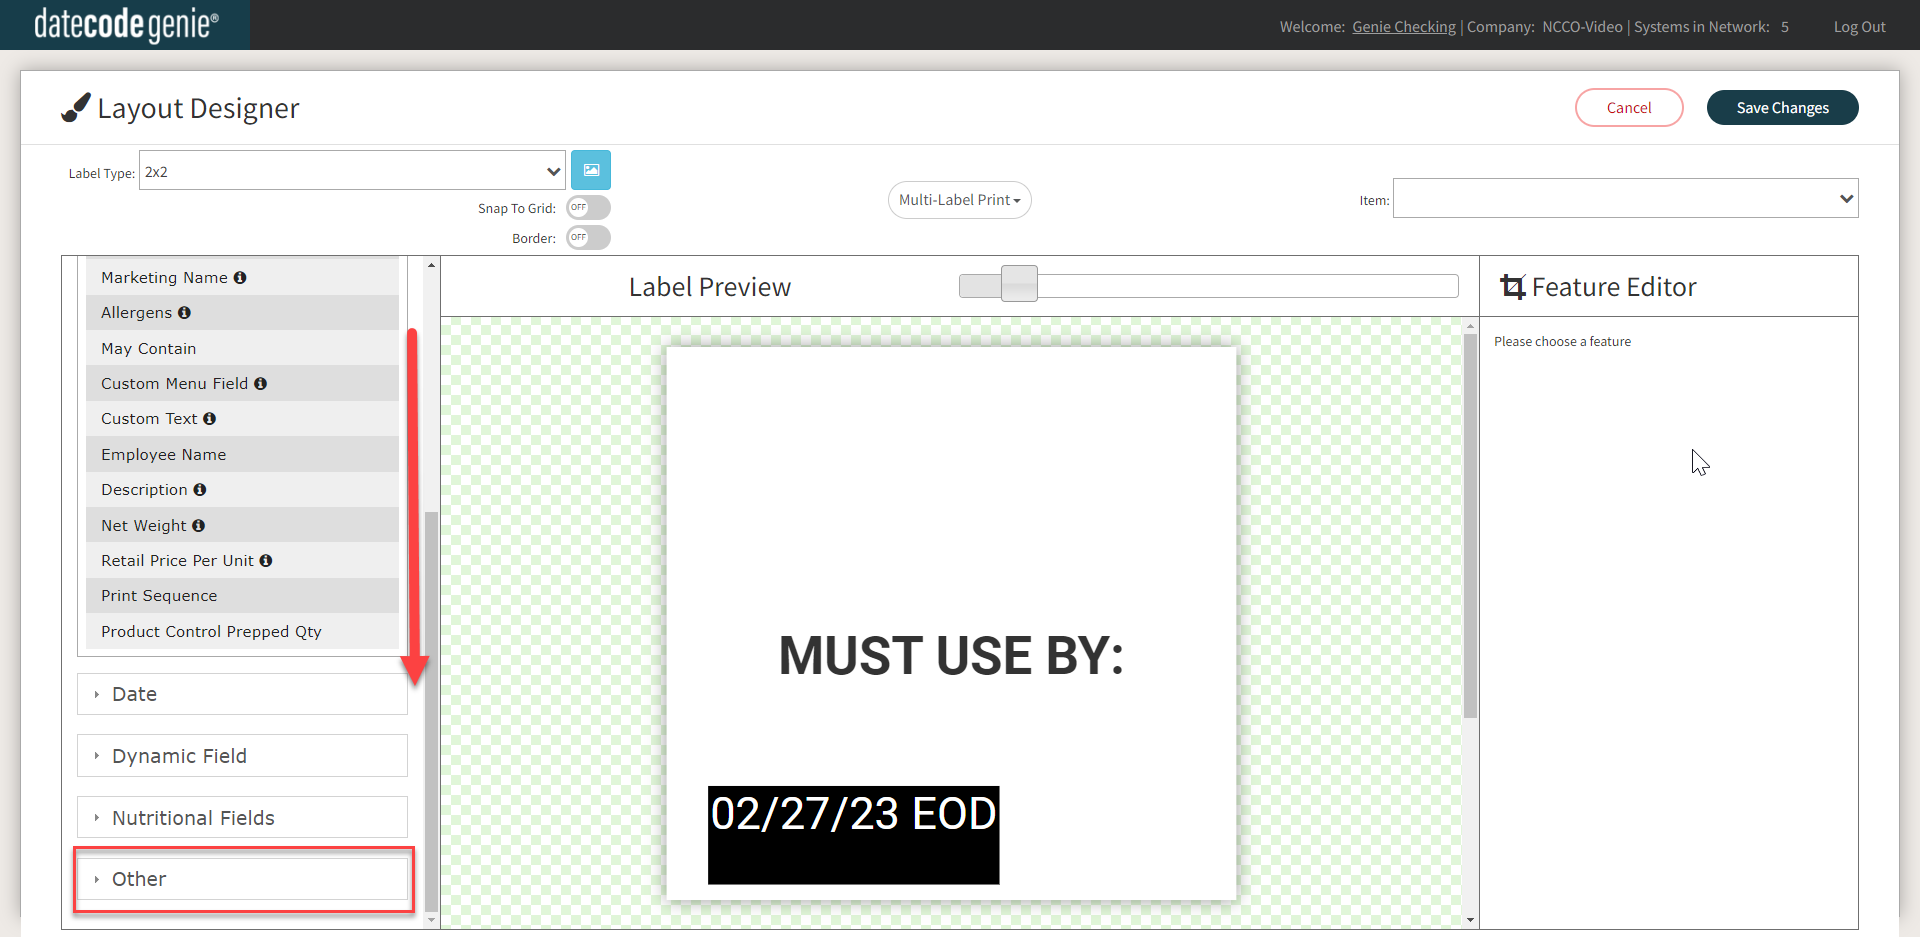
4. Scroll down in the Features window and click the Other group to open dropdown.
5. Drag and drop the Logo feature onto the Printer Preview.
TIP & TRICK
Want to save time? Skip the upload and use the Location Default Logo (Step 8) to automatically print unique branding for every location using a single printer profile.

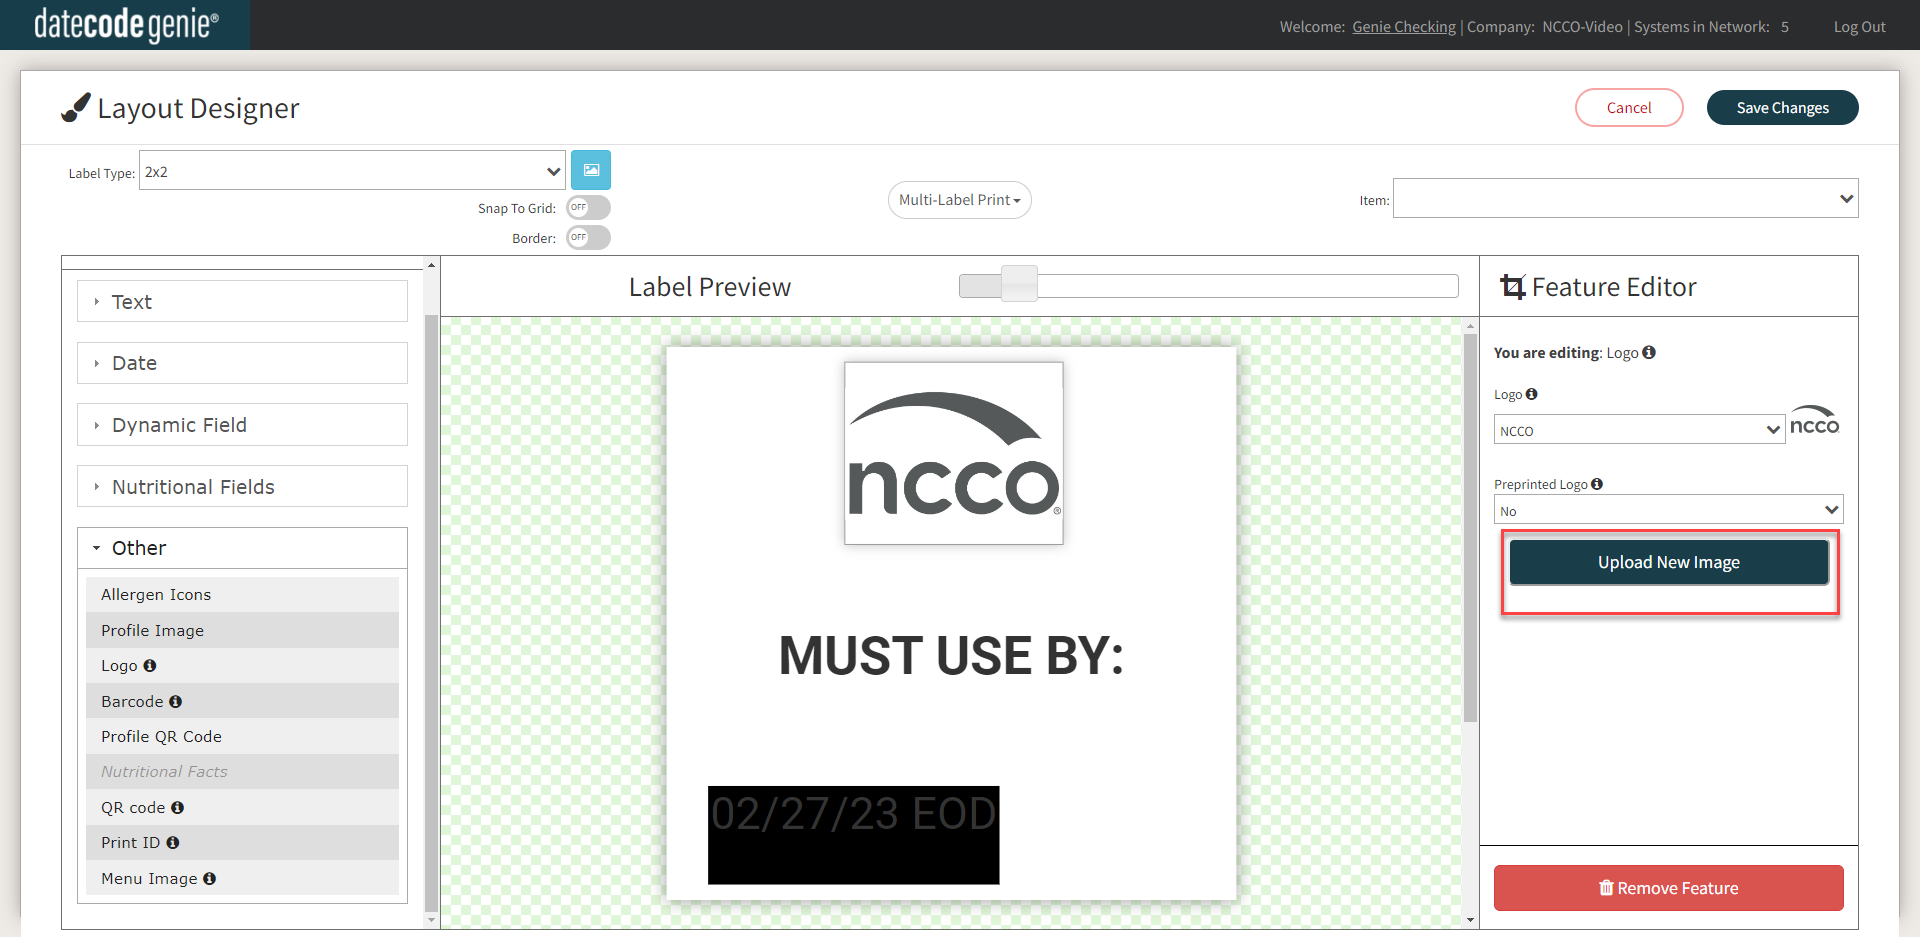
6. Click the Upload New Image button from the Feature Editor.
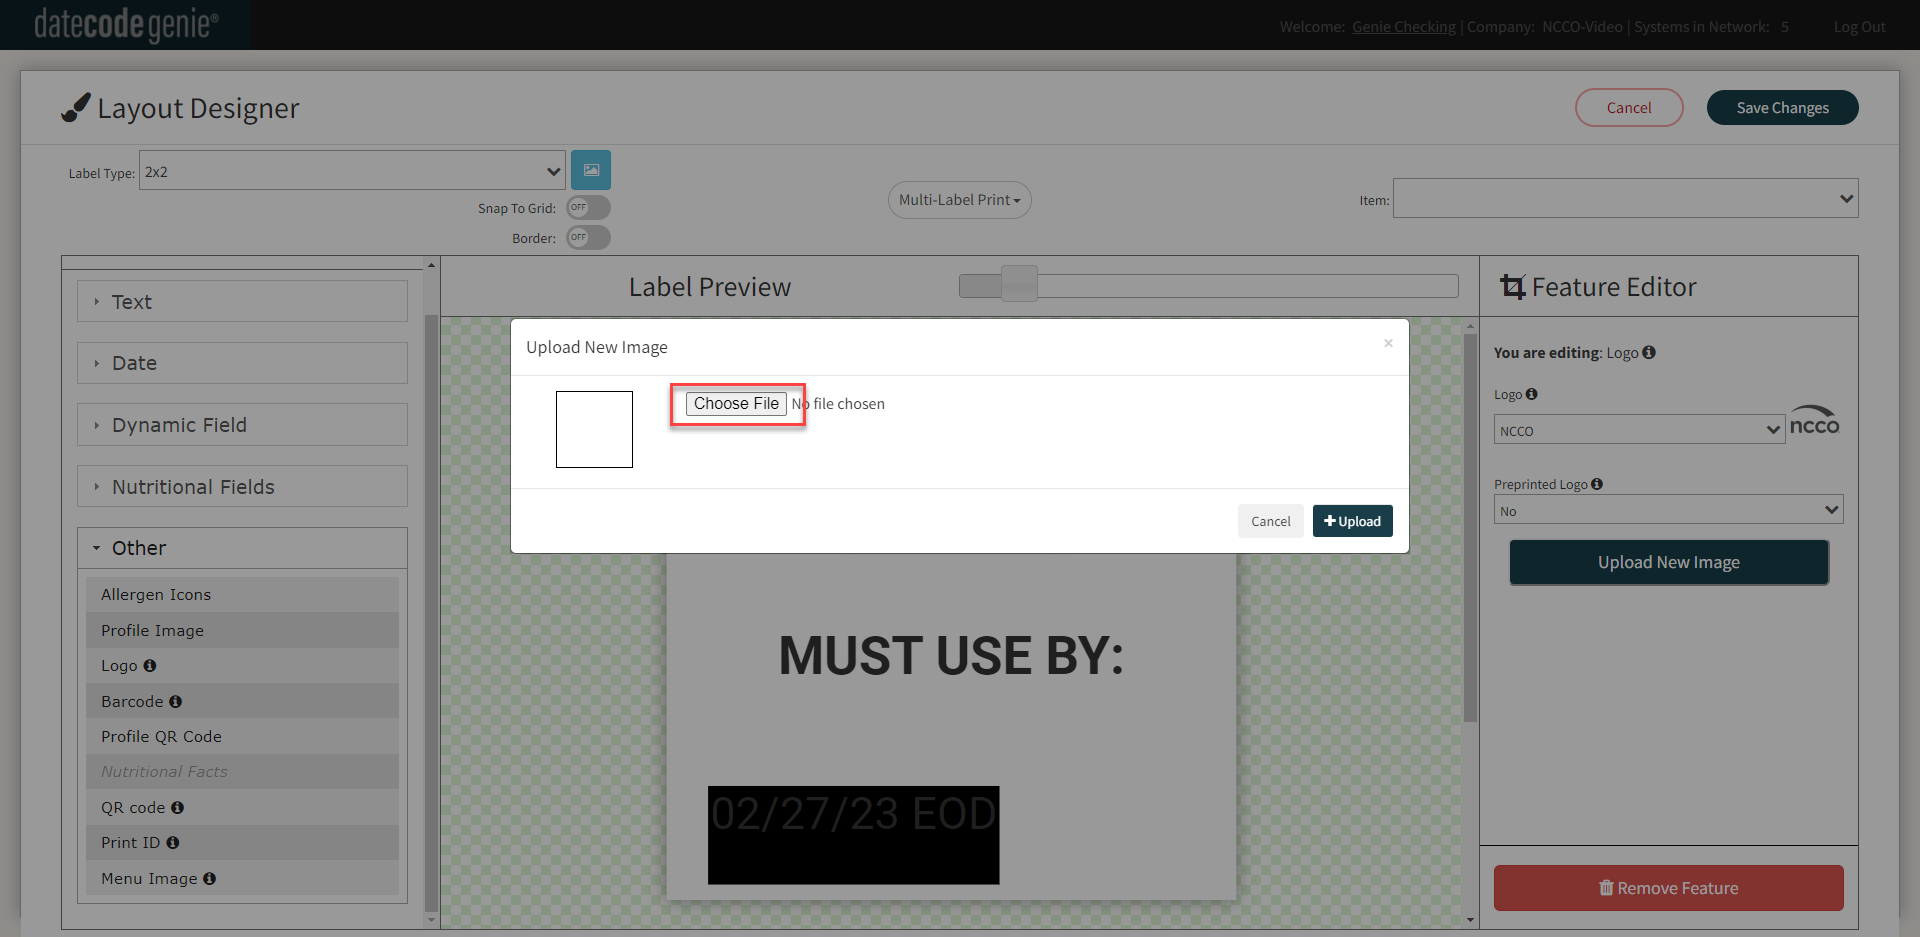
7. Click the Choose File button, attach the PNG or JPEG file, and click +Upload.
8. OPTIONAL: Select Use Location Default Logo from the Logo dropdown. This allows multiple locations to share one printer profile while automatically printing their own unique branding. In the label preview, this appears as a grey box labeled Default Logo.
NOTE
If a location is missing a default logo, a message will appear under the dropdown. If no default is set, a logo will not print on the label. See Logo is Not Printing on the Label

9. Click the Save Changes button.